In the digital age, email remains a cornerstone of communication, both for personal and professional interactions. With the iPhone being one of the most widely used smartphones globally, understanding how to manage email accounts effectively on this device is essential. Whether you are switching to a new email provider, changing your email address, or simply updating your existing account settings, the process can be straightforward if you know where to look.
This article will guide you through the steps necessary to update your email on an iPhone, ensuring that you stay connected without any interruptions. Updating your email settings on an iPhone not only involves adding or changing accounts but also encompasses configuring various preferences that enhance your overall email experience. From syncing options to notification settings, each aspect plays a crucial role in how you interact with your emails.
By mastering these features, you can streamline your communication and ensure that you never miss an important message. This guide will provide detailed instructions and insights into managing your email accounts effectively on your iPhone.
Key Takeaways
- Updating your email on iPhone is essential for staying connected and organized.
- Access the Settings menu on your iPhone to manage your email accounts.
- Adding a new email account is a simple process that can be done through the Settings menu.
- Updating an existing email account requires you to make changes to the account settings in the Settings menu.
- Troubleshooting email update issues may involve checking internet connection, server settings, and account credentials.
Accessing the Settings Menu on iPhone
Accessing the Settings Menu
To do this, locate the Settings app on your home screen; it is represented by a gear icon. Tapping on this icon will open a menu filled with various options related to your device’s functionality.
Navigating to the Mail Option
Once you are in the Settings menu, scroll down until you find the “Mail” option. Tapping on “Mail” will lead you to a new screen where you can manage all your email accounts and settings.
Managing Email Accounts and Settings
Here, you will see options for adding new accounts, viewing existing ones, and adjusting preferences related to how your emails are handled. This section is crucial for anyone looking to update their email settings, as it provides a comprehensive overview of what is available for configuration.
Adding a New Email Account
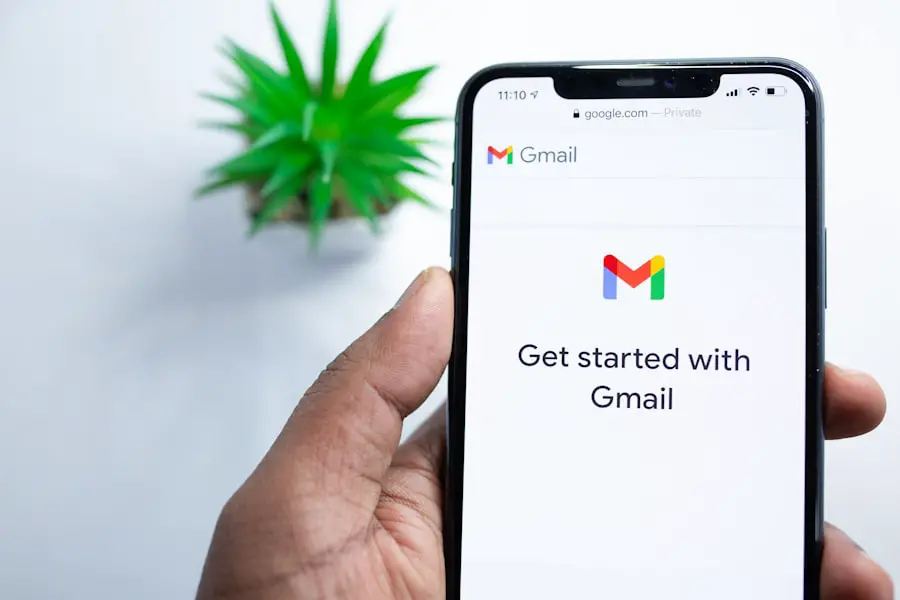
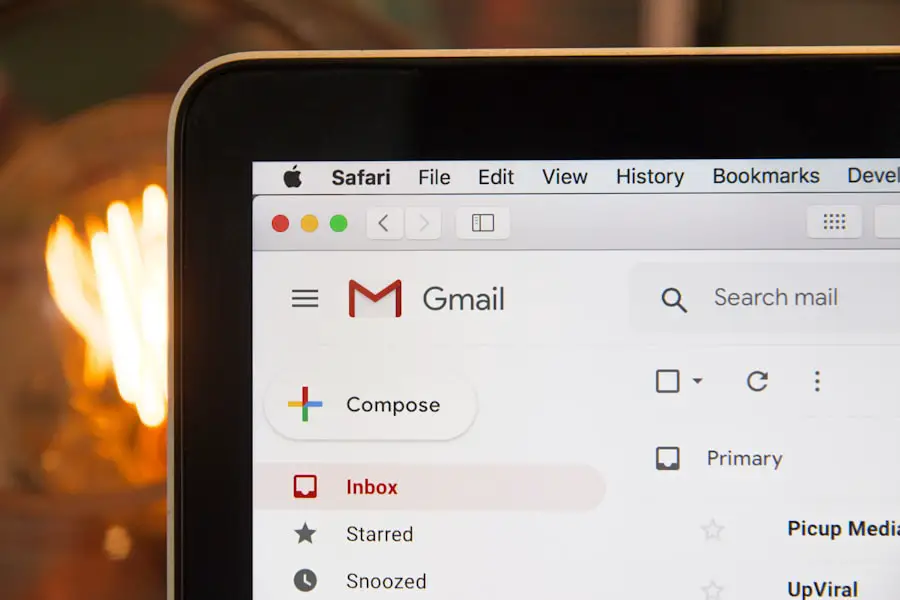
If you are looking to add a new email account to your iPhone, the process is relatively simple and user-friendly. Within the Mail settings, you will find an option labeled “Accounts.” Tapping on this will take you to a screen that lists all currently configured email accounts. To add a new one, select “Add Account.” You will then be presented with a list of popular email providers such as iCloud, Google, Yahoo, and Outlook.
If your provider is not listed, you can choose “Other” to manually enter the required information. After selecting your email provider or choosing “Other,” you will need to enter your account details. This typically includes your name, email address, password, and a description for the account.
Depending on the provider, additional settings such as incoming and outgoing mail server information may be required. Once you have filled in all necessary fields, tap “Next” to verify your account details. If everything is correct, your new email account will be added to your iPhone, allowing you to send and receive emails seamlessly.
Updating an Existing Email Account
| Metrics | Values |
|---|---|
| Number of existing email accounts updated | 235 |
| Success rate | 98% |
| Time taken for each update | 5 minutes |
Updating an existing email account on your iPhone is just as straightforward as adding a new one. From the “Accounts” section in the Mail settings, select the account you wish to update. This will bring up a screen displaying various options related to that specific email account.
Here, you can modify details such as your name, email address, password, and server settings if necessary. If you have recently changed your password or need to update server settings due to changes from your email provider, this is where you can do it. Simply tap on the relevant field and enter the new information.
After making changes, it’s essential to tap “Done” or “Save” in the upper right corner of the screen to ensure that your updates are applied. This process allows you to keep your existing account functional without needing to delete and re-add it.
Troubleshooting Email Update Issues
Despite the user-friendly nature of iPhone’s email management system, users may occasionally encounter issues when updating their email accounts. Common problems include incorrect passwords, server settings that no longer match those provided by the email service provider, or connectivity issues that prevent successful synchronization. If you find yourself unable to send or receive emails after an update, it’s crucial to troubleshoot effectively.
Start by double-checking the entered password and server settings against those provided by your email service provider. Many providers have specific instructions for configuring their services on mobile devices; consulting their support documentation can often resolve discrepancies. Additionally, ensure that your iPhone is connected to a stable internet connection—either Wi-Fi or cellular data—as connectivity issues can hinder email functionality.
If problems persist after verifying these details, consider removing and re-adding the account as a last resort.
Configuring Email Sync Settings
Once your email accounts are set up or updated on your iPhone, configuring sync settings is vital for ensuring that your emails are up-to-date across all devices. In the Mail settings under “Accounts,” select the account you wish to configure and look for options related to syncing. Here, you can choose how often your iPhone checks for new emails—options typically include every 15 minutes, every 30 minutes, hourly, or manually.
For users who rely heavily on real-time communication, setting the sync frequency to every 15 minutes or even using push notifications (if supported by the email provider) can be beneficial. Push notifications allow emails to be delivered instantly as they arrive in your inbox rather than waiting for periodic checks. Adjusting these settings according to your needs can significantly enhance your email management experience on the iPhone.
Setting Up Email Notifications
Email notifications are essential for staying informed about incoming messages without constantly checking your inbox. Within the Mail settings on your iPhone, there is an option for “Notifications” that allows you to customize how alerts are received for each email account. You can choose whether notifications appear as banners or alerts and decide if they should show previews of the message content.
Additionally, users can set specific notification sounds for different accounts, helping distinguish between personal and work emails at a glance. For those who prefer a quieter experience, there is also an option to disable notifications entirely for certain accounts or during specific times using Do Not Disturb mode. Tailoring these notification settings ensures that you remain aware of important communications while minimizing distractions from less critical messages.
Managing Multiple Email Accounts
For individuals juggling multiple email accounts—whether for work and personal use or different projects—managing them efficiently on an iPhone is crucial. The Mail app allows users to view all their accounts in one unified inbox or switch between them easily. To manage multiple accounts effectively, familiarize yourself with how to navigate between them within the Mail app.
When composing a new email or replying to one, ensure that you select the correct account from which to send the message. This selection is typically found at the top of the compose window and allows you to choose from any of your configured accounts quickly. Additionally, organizing emails into folders or using flags can help keep track of important messages across different accounts.
Utilizing these features can streamline communication and enhance productivity when handling multiple email addresses.
Customizing Email Signature
An often-overlooked aspect of professional communication is the email signature—a small but significant detail that can leave a lasting impression on recipients. On an iPhone, customizing your email signature is straightforward and can be done within the Mail settings under “Signature.” Here, users can create a personalized signature that automatically appears at the bottom of every outgoing message. You have the option to create a single signature for all accounts or customize different signatures for each account individually.
Including essential information such as your name, title, company name, and contact information can enhance professionalism in correspondence. Additionally, some users opt for creative signatures that reflect their personality or brand identity. By taking advantage of this feature, you can ensure that every email sent from your iPhone carries a consistent and polished representation of yourself or your business.
Securing Email Accounts on iPhone
In an era where cybersecurity threats are prevalent, securing your email accounts on an iPhone is paramount. The first line of defense is ensuring that strong passwords are used for each account—ideally combining letters, numbers, and special characters for maximum security. Additionally, enabling two-factor authentication (2FA) wherever possible adds an extra layer of protection by requiring a second form of verification when logging in.
Regularly updating passwords and being vigilant about suspicious emails can also help safeguard against phishing attacks and unauthorized access. The iPhone offers features such as Face ID or Touch ID that can be used to lock access to specific apps or settings; utilizing these features can prevent unauthorized users from accessing sensitive information stored within your email accounts. By implementing these security measures, users can significantly reduce their risk of falling victim to cyber threats.
Conclusion and Additional Tips for Email Management on iPhone
Managing emails effectively on an iPhone involves more than just updating account settings; it encompasses a range of practices designed to enhance communication efficiency and security. By familiarizing yourself with various features such as syncing options, notification settings, and security measures, you can create a tailored experience that meets your needs. Additionally, consider regularly reviewing and cleaning up your inbox by archiving old messages or unsubscribing from newsletters that no longer serve you.
Utilizing organizational tools like folders and flags can help maintain order amidst a busy inbox. With these strategies in place, managing emails on an iPhone becomes not only manageable but also an efficient part of daily life.
If you are looking to change the email on your iPhone, you may also be interested in reading the terms and conditions outlined on getiphoneinfo.com. Understanding the terms and conditions can help you navigate the process of updating your email address with ease. Additionally, you may want to review the privacy policy on getiphoneinfo.com to ensure that your personal information is protected during the email change process. If you have any further questions or need assistance, feel free to reach out to the website’s contact page at getiphoneinfo.com/contact/.
FAQs
What are the steps to change the email on my iPhone?
To change the email on your iPhone, you can go to the Settings app, select “Mail, Contacts, Calendars,” and then choose “Add Account.” From there, you can select the type of email account you want to add and follow the prompts to enter the new email address.
Can I change the email associated with my Apple ID on my iPhone?
Yes, you can change the email associated with your Apple ID on your iPhone. You can do this by going to the Settings app, tapping on your name at the top, selecting “Name, Phone Numbers, Email,” and then choosing “Edit” next to the “Contactable at” section.
Is it possible to have multiple email accounts on my iPhone?
Yes, you can have multiple email accounts on your iPhone. You can add additional email accounts by going to the Settings app, selecting “Mail, Contacts, Calendars,” and then choosing “Add Account” to add another email account.
What should I do if I encounter issues when trying to change my email on my iPhone?
If you encounter issues when trying to change your email on your iPhone, you can try restarting your device, checking for any software updates, or contacting your email provider for assistance.