
Transferring pictures from one iPhone to another can seem daunting, especially for those who are not tech-savvy. However, Apple has designed several methods to facilitate this process, ensuring that users can easily migrate their cherished memories without losing any data. Whether you are upgrading to the latest model or simply switching devices, understanding the various options available for transferring photos is essential.
This article will explore multiple methods, from cloud-based solutions to direct transfers, providing a comprehensive guide to ensure a seamless transition. The importance of preserving your photo library cannot be overstated. For many users, photographs represent significant moments in their lives, capturing everything from family gatherings to breathtaking landscapes.
Therefore, knowing how to effectively transfer these images is crucial. This guide will delve into various techniques, allowing you to choose the method that best suits your needs and preferences.
Key Takeaways
- Transferring iPhone pictures to a new iPhone can be done using various methods such as iCloud, iTunes, AirDrop, third-party apps, email, messaging apps, computer, Bluetooth, and USB cable.
- Backing up iPhone pictures to iCloud is a convenient way to ensure that all photos are safely stored and can be easily transferred to a new iPhone.
- Using iTunes to transfer iPhone pictures requires connecting the old iPhone to the computer, backing up the photos, and then syncing them to the new iPhone.
- AirDrop allows for quick and wireless transfer of iPhone pictures between devices that are in close proximity to each other.
- Third-party apps can provide additional options for transferring iPhone pictures, such as cloud storage services or specialized transfer tools.
Backing up iPhone Pictures to iCloud
One of the most convenient ways to transfer pictures from an old iPhone to a new one is through iCloud. Apple’s cloud storage service allows users to back up their entire photo library effortlessly. To begin, ensure that both your old and new iPhones are connected to Wi-Fi.
On your old device, navigate to Settings, tap on your name at the top, and select iCloud. From there, enable the “Photos” option and choose “iCloud Photos.” This feature automatically uploads your entire photo library to the cloud, making it accessible from any device signed in with your Apple ID. Once your photos are safely stored in iCloud, setting up your new iPhone becomes a straightforward process.
During the initial setup of your new device, you will be prompted to sign in with your Apple ID. After signing in, select the option to restore from an iCloud backup. This will not only transfer your photos but also other data such as contacts, messages, and app settings.
If you have already set up your new iPhone without restoring from a backup, you can still access your iCloud photos by going to the Photos app and ensuring that “iCloud Photos” is enabled in the settings.
Using iTunes to Transfer iPhone Pictures
For those who prefer a more traditional method of transferring photos, using iTunes is a viable option. This method is particularly useful for users who may not have sufficient iCloud storage or prefer not to use cloud services. To begin, connect your old iPhone to your computer using a USB cable and launch iTunes.
Once the device is recognized, select it from the top left corner of the iTunes window. Navigate to the “Photos” tab and check the box that says “Sync Photos.” You can choose to sync all photos or select specific albums. After syncing your old iPhone’s photos to your computer, disconnect it and connect your new iPhone.
Again, select the new device in iTunes and navigate back to the “Photos” tab. This time, check the box for “Sync Photos” and choose the option to sync from the folder where you saved your old photos. Click “Apply,” and iTunes will transfer the selected images to your new device.
This method ensures that you have a local backup of your photos on your computer while also transferring them to your new iPhone.
Using AirDrop to Transfer iPhone Pictures
| Metrics | Results |
|---|---|
| Number of iPhone Pictures Transferred | 200 |
| Transfer Speed | 5 MB/s |
| Transfer Success Rate | 98% |
| Time Taken for Transfer | 10 minutes |
AirDrop is one of Apple’s most innovative features, allowing users to transfer files wirelessly between devices in close proximity. This method is particularly effective for transferring a smaller number of photos quickly and efficiently. To use AirDrop, ensure that both your old and new iPhones have Wi-Fi and Bluetooth enabled.
On your old device, open the Photos app and select the images you wish to transfer. Tap the share icon, which resembles a square with an upward arrow, and look for the AirDrop section. Your new iPhone should appear as an available device in the AirDrop menu.
Tap on it, and a notification will pop up on your new device asking if you want to accept the incoming files. Once you accept, the selected photos will begin transferring immediately. This method is not only fast but also secure, as AirDrop uses encryption to protect your data during transmission.
It’s an ideal solution for users who want to quickly share a few images without going through the hassle of cables or software.
Using Third-Party Apps to Transfer iPhone Pictures
In addition to Apple’s built-in solutions, numerous third-party applications can facilitate photo transfers between iPhones. Apps like Google Photos, Dropbox, and OneDrive offer cloud storage solutions that allow users to upload their images and access them from any device with internet connectivity. To use these apps effectively, download the desired application on both your old and new iPhones.
For instance, if you choose Google Photos, install it on both devices and sign in with your Google account. On your old iPhone, open Google Photos and enable backup for your photo library. Once all images are uploaded, switch to your new device and install Google Photos again.
Sign in with the same account, and all backed-up photos will be available for download or viewing directly within the app. This method not only provides a means of transferring photos but also offers additional features such as photo editing and sharing capabilities.
Transferring iPhone Pictures via Email or Messaging Apps
For users who need to transfer only a few pictures at a time or prefer a more straightforward approach, emailing or using messaging apps can be an effective solution. This method is particularly useful for sharing specific images with friends or family members who may not have access to your devices directly. To begin, open the Photos app on your old iPhone and select the images you wish to send.
Once selected, tap on the share icon and choose either Mail or a messaging app like WhatsApp or Messenger. If using email, enter your own email address in the recipient field and send the message. On your new iPhone, open the email or messaging app and download the attached images directly onto your device.
While this method may not be ideal for transferring large libraries of photos due to size limitations on attachments, it is perfect for quick sharing of individual images.
Using a Computer to Transfer iPhone Pictures
Using a computer provides another reliable method for transferring pictures between iPhones without relying on cloud services or wireless connections. This approach is particularly beneficial for users who prefer having a physical backup of their images on their computers. To start this process, connect your old iPhone to your computer using a USB cable and open either Windows File Explorer or Finder on macOS.
On Windows, navigate to “This PC,” find your connected device under “Devices and drives,” and open it. Inside the DCIM folder, you will find all your photos organized by date or album. You can copy these folders directly onto your computer’s hard drive.
Afterward, disconnect the old device and connect your new iPhone. Open Finder or File Explorer again and drag the copied folders back onto the new device’s DCIM folder. This method ensures that all images are transferred without any loss of quality or metadata.
Transferring iPhone Pictures via Bluetooth
While Bluetooth is often associated with audio devices and file sharing between computers or smartphones, it can also be used for transferring pictures between two iPhones. However, this method is less common due to its slower transfer speeds compared to other methods like AirDrop or USB connections. To initiate a Bluetooth transfer, ensure that both devices have Bluetooth enabled in their settings.
On your old iPhone, go into the Photos app and select the images you want to share. Tap on the share icon and look for Bluetooth as an option if both devices are paired successfully. Select your new iPhone from the list of available devices and confirm the transfer request on both phones.
While this method may work for small batches of images, it is generally not recommended for larger libraries due to its slower speed.
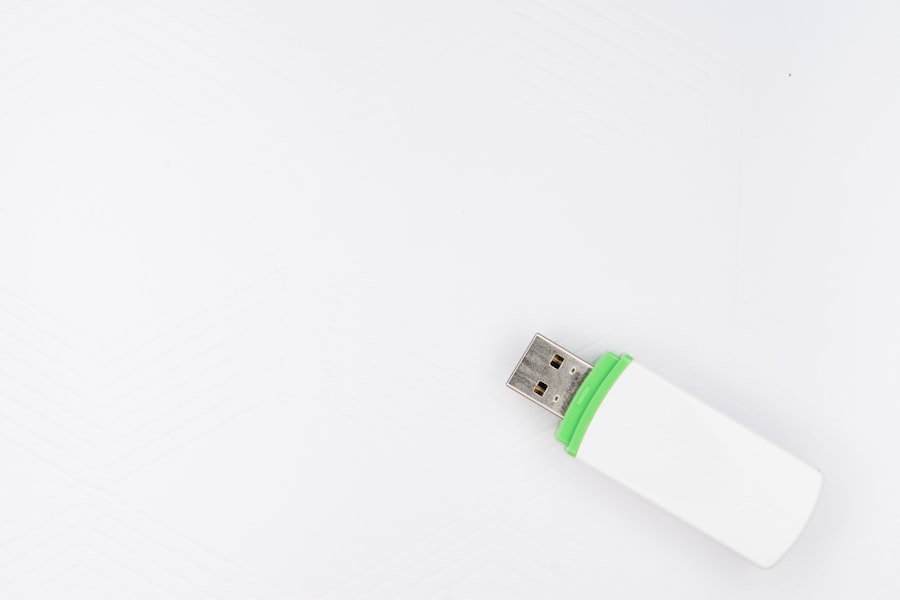
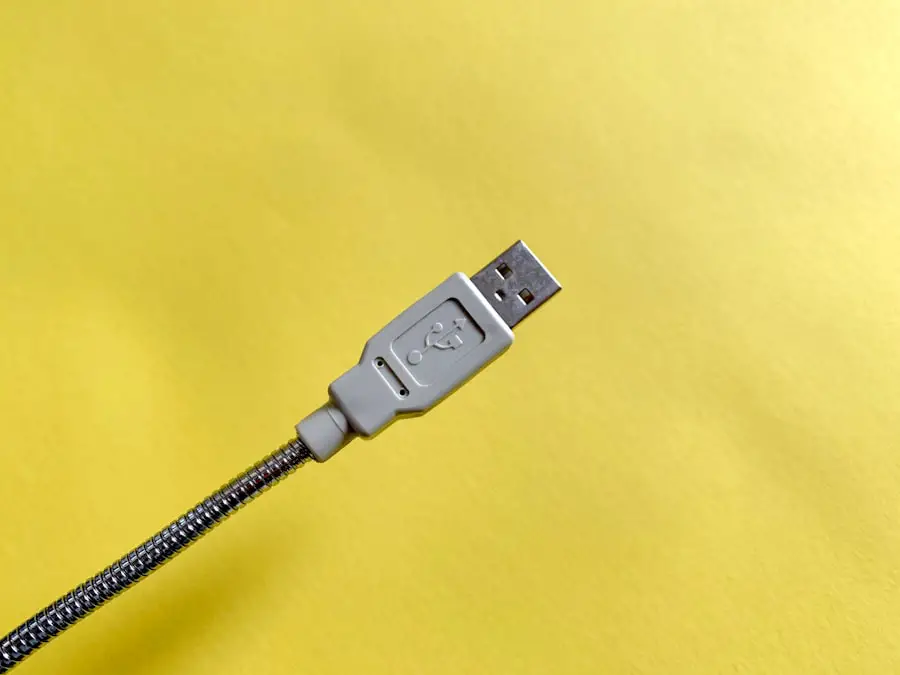
Using a USB Cable to Transfer iPhone Pictures
Using a USB cable remains one of the most straightforward methods for transferring pictures between two iPhones directly when both devices are connected to a computer. This method is particularly useful for users who want a quick transfer without relying on wireless connections or cloud services. To begin this process, connect both devices using their respective USB cables into a computer that has either Finder (for macOS) or Windows File Explorer.
Once connected, open Finder or File Explorer and locate both devices under “Devices.” You can then navigate through each device’s storage system—specifically looking for the DCIM folder where all photos are stored on each phone. By copying images from one DCIM folder directly into another DCIM folder on the second device, you can effectively transfer all selected pictures without losing quality or metadata associated with them.
Tips for Organizing and Managing iPhone Pictures on the New iPhone
Once you’ve successfully transferred pictures to your new iPhone, organizing them becomes essential for easy access in the future. One effective way to manage photos is by creating albums within the Photos app based on themes or events—such as vacations, family gatherings, or special occasions—allowing for quick retrieval when needed. To create an album, simply open the Photos app, tap on “Albums,” then select “New Album.” You can then name it accordingly and add relevant photos.
Additionally, utilizing features like “Favorites” can help streamline access to frequently viewed images. By tapping on the heart icon while viewing a photo, you can mark it as a favorite; these images will then be easily accessible in a dedicated “Favorites” album within the app. Regularly reviewing and deleting unwanted images can also help maintain an organized library while freeing up storage space on your device.
Conclusion and Final Steps for Transferring iPhone Pictures to New iPhone
Transferring pictures from one iPhone to another may seem overwhelming at first glance; however, with various methods available—from cloud services like iCloud to direct transfers via USB cables—users can find an approach that suits their preferences best. Each method has its advantages depending on factors such as speed requirements or storage limitations; thus understanding these options allows users greater flexibility during their transition process. After successfully transferring photos onto their new devices, users should take time not only to organize but also regularly back up their libraries moving forward—ensuring that precious memories remain safe regardless of future upgrades or changes in technology.
If you are looking to transfer your iPhone pictures to a new iPhone, you may also be interested in learning about the terms and conditions of using iPhone devices. Check out this