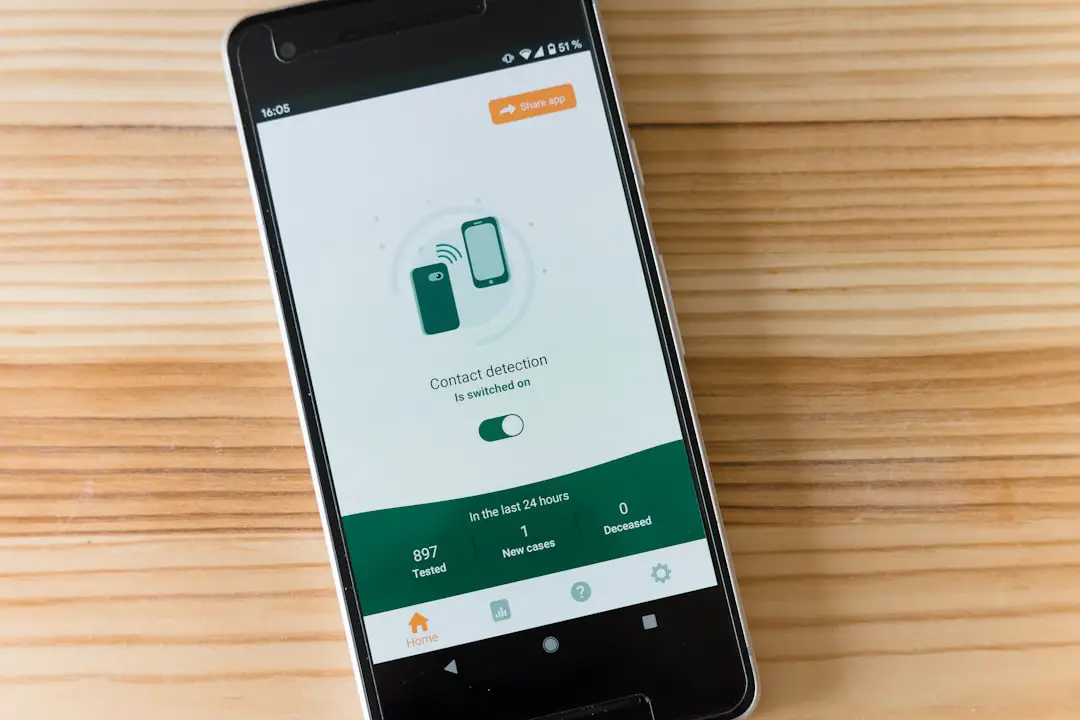
The iPhone, a flagship product of Apple Inc., has revolutionized the smartphone industry since its inception in 2007. With its sleek design, advanced technology, and user-friendly interface, it has become a staple in the lives of millions worldwide. However, like any electronic device, iPhones can encounter issues that necessitate opening the device for repairs or upgrades.
Whether it’s a cracked screen, a malfunctioning battery, or a need for internal component upgrades, understanding how to safely and effectively open an iPhone is crucial for both professionals and DIY enthusiasts alike. This article will guide you through the intricate process of opening an iPhone, ensuring that you have the knowledge and tools necessary to tackle this task with confidence. Opening an iPhone is not merely about prying it apart; it requires a methodical approach to avoid damaging sensitive components.
Each model of the iPhone has its unique design and internal layout, which means that the process can vary significantly from one version to another. Therefore, familiarity with the specific model you are working on is essential. This article will provide a comprehensive overview of the steps involved in opening an iPhone, from gathering the necessary tools to reassembling the device after repairs.
By following these guidelines, you can ensure that your iPhone remains functional and intact throughout the process.
Key Takeaways
- Opening an iPhone requires careful disassembly and reassembly to avoid damaging internal components
- Tools required for opening an iPhone include a pentalobe screwdriver, suction cup, plastic spudger, and tweezers
- It is important to back up all data on the iPhone before opening to prevent data loss
- Removing the screws from the iPhone casing requires a steady hand and the correct screwdriver
- Opening the iPhone casing should be done slowly and carefully to avoid damaging the delicate components inside
- Disconnecting the battery is a crucial step to prevent electrical damage while working on the internal components
- Removing the internal components should be done with caution and attention to detail to avoid damaging any parts
- When replacing or repairing components, it is important to use high-quality replacement parts and follow proper installation procedures
- Reassembling the iPhone requires careful alignment of components and screws to ensure everything fits back together properly
- Testing the iPhone after reassembly is essential to ensure that all components are functioning correctly
- Tips for safely opening an iPhone include working in a clean, well-lit area, keeping track of screws and components, and seeking professional help if unsure about any step
Tools Required for Opening an iPhone
Before embarking on the journey of opening an iPhone, it is imperative to gather the right tools. The precision required for this task cannot be overstated; using inappropriate tools can lead to irreversible damage. A standard toolkit for opening an iPhone typically includes a pentalobe screwdriver, a Phillips screwdriver, a spudger, tweezers, and suction cups.
The pentalobe screwdriver is particularly important as it is designed to fit the unique screws used in Apple devices, specifically those located near the charging port. In addition to these basic tools, having a magnetic mat or small containers can be beneficial for organizing screws and small components as they are removed. This organization helps prevent loss and confusion during reassembly.
A heat source, such as a heat gun or hairdryer, may also be necessary to soften adhesive that holds the screen in place, especially in newer models where adhesive is used extensively. By ensuring you have all these tools at your disposal before starting, you can streamline the process and minimize potential complications.
Backing Up Data Before Opening

Before any physical intervention on an iPhone, backing up data is a critical step that should never be overlooked. The risk of data loss during repairs is significant, especially if something goes awry during the opening process. Apple provides several methods for backing up data, including iCloud and iTunes.
Using iCloud allows users to back up their data wirelessly, ensuring that contacts, photos, app data, and settings are securely stored in the cloud. This method is particularly convenient as it can be done directly from the device without needing a computer. Alternatively, backing up via iTunes offers a more comprehensive solution for those who prefer local storage.
By connecting the iPhone to a computer and using iTunes, users can create a complete backup of their device. This method not only saves data but also allows for restoring the device to its previous state if needed. Regardless of the method chosen, ensuring that all important data is backed up before proceeding with any repairs is essential for peace of mind and data security.
Removing the Screws from the iPhone
| Step | Description |
|---|---|
| Step 1 | Turn off the iPhone and gather necessary tools. |
| Step 2 | Use a Pentalobe screwdriver to remove the two screws at the bottom of the iPhone. |
| Step 3 | Gently push the screen upwards to release it from the casing. |
| Step 4 | Continue with the repair or maintenance process. |
Once you have backed up your data and gathered your tools, the next step involves removing the screws that secure the iPhone casing. The location and type of screws can vary depending on the model; however, most iPhones feature pentalobe screws located near the charging port. Using the pentalobe screwdriver, carefully remove these screws and place them in a designated container to avoid losing them.
After removing the pentalobe screws, additional screws may be found inside the device once you begin to open it. For instance, many models have Phillips screws securing internal components such as the battery or display assembly. It’s crucial to keep track of which screws belong where since they can differ in size and length.
Misplacing or incorrectly reassembling these screws can lead to complications during reassembly or even damage to internal components.
Opening the iPhone Casing
With the screws removed, you can now proceed to open the iPhone casing. This step requires careful handling to avoid damaging the delicate components inside. A suction cup can be particularly useful here; by placing it on the screen and gently pulling while using a spudger to pry open the casing, you can create a gap without applying excessive force.
It’s important to work slowly and methodically, as rushing this process can lead to cracks or breaks in the glass. As you begin to separate the casing from the body of the phone, be mindful of any adhesive that may still be holding it in place. In newer models, Apple has used strong adhesive strips that may require additional heat application to soften before they can be easily removed.
If you encounter resistance while prying open the casing, applying gentle heat around the edges can help loosen any stubborn adhesive without damaging internal components.
Disconnecting the Battery

Once you have successfully opened the casing, one of the first tasks is to disconnect the battery. This step is crucial for safety reasons; working on an electronic device with an active power source can lead to short circuits or other electrical issues. Typically, there will be a battery connector secured by screws or clips that need to be carefully removed using your Phillips screwdriver or spudger.
After locating and removing any screws securing the battery connector, gently lift it away from its socket on the logic board. It’s important to handle this component with care; excessive force can damage both the connector and the logic board itself. Once disconnected, you can proceed with confidence knowing that you are working on a powered-down device.
Removing the Internal Components
With the battery safely disconnected, you can now turn your attention to removing internal components as needed for repair or replacement. Depending on what issues you are addressing—be it a faulty camera, malfunctioning speaker, or damaged display—different components will need to be accessed. Each component is typically secured by screws or clips that must be carefully removed.
For example, if you are replacing a cracked screen, you will need to detach various connectors associated with the display assembly before fully removing it from the device. Using tweezers or a spudger can help maneuver around tight spaces without causing damage to adjacent components. It’s advisable to take notes or photographs during this process to ensure that reassembly goes smoothly later on.
Replacing or Repairing Components
Once you have successfully accessed and removed the necessary internal components, you can proceed with repairs or replacements as needed. If you are replacing a part such as a battery or screen, ensure that you have compatible components specific to your iPhone model. Using non-genuine parts may lead to performance issues or incompatibility problems down the line.
When installing new components, take care to align connectors properly and secure them with screws as needed. It’s essential to follow manufacturer guidelines for installation; many replacement parts come with instructions that detail how to install them correctly. Additionally, if you are repairing rather than replacing components—such as cleaning contacts on a logic board—ensure that you use appropriate cleaning solutions and tools designed for electronics.
Reassembling the iPhone
After completing repairs or replacements, it’s time to reassemble your iPhone carefully. Begin by reconnecting any internal components that were previously disconnected during disassembly. This includes reconnecting the battery first before moving on to other components like display connectors or cameras.
As you work through this process, refer back to any notes or photographs taken during disassembly; this will help ensure that everything is put back together correctly. Once all internal components are reconnected and secured with screws where necessary, it’s time to close up the casing. Align the casing carefully with the body of the phone and press down gently around all edges until it snaps back into place.
Finally, replace any external screws that were removed at the beginning of this process—ensuring they are tightened securely but not over-tightened, which could strip threads or damage components.
Testing the iPhone After Reassembly
With your iPhone fully reassembled, it’s crucial to test its functionality before considering your repair complete. Start by powering on the device; if it doesn’t turn on immediately after reassembly, double-check all connections made during reassembly—especially those related to power and display functions. Once powered on, check for any visible issues such as screen responsiveness or sound quality.
It’s also advisable to run through various functions of the phone—such as making calls, sending messages, and using apps—to ensure everything operates smoothly. If any issues arise during testing, revisit your work; there may be loose connections or improperly installed components that need addressing before declaring success.
Tips for Safely Opening an iPhone
Opening an iPhone requires patience and precision; therefore, adhering to safety tips can significantly enhance your experience and outcomes. First and foremost, always work in a clean and well-lit environment free from distractions. This minimizes risks of losing small parts or making mistakes due to interruptions.
Additionally, consider using anti-static wrist straps when working with electronic components; this helps prevent static electricity from damaging sensitive parts within your device. Always handle components by their edges rather than touching circuit boards directly; oils from your fingers can cause corrosion over time. Lastly, don’t hesitate to consult online resources such as repair guides or video tutorials specific to your iPhone model if you encounter difficulties during any stage of this process.
The wealth of information available online can provide valuable insights and tips from others who have successfully navigated similar repairs. By following these detailed steps and tips for safely opening an iPhone, you can approach repairs with confidence and skill while minimizing risks associated with handling delicate electronic devices.
If you are looking for more information on how to open an iPhone, you may want to check out the article on GetiPhoneInfo for more helpful tips and tricks on iPhone maintenance.
FAQs
What tools do I need to open an iPhone?
To open an iPhone, you will need a pentalobe screwdriver, a suction cup, a plastic spudger, and a small Phillips screwdriver. These tools are necessary to remove the screws and open the iPhone without causing damage.
Is it possible to open an iPhone without special tools?
It is not recommended to open an iPhone without the proper tools. Attempting to open an iPhone without the correct tools can result in damage to the device and void any existing warranty.
Can I open an iPhone without voiding the warranty?
Opening an iPhone yourself can void the warranty, as it may be considered unauthorized tampering. It is recommended to have any repairs or modifications done by an authorized service provider to avoid voiding the warranty.
What precautions should I take before opening an iPhone?
Before opening an iPhone, it is important to power off the device and remove any SIM card. Additionally, it is recommended to work in a clean and well-lit area to avoid losing small components and to prevent dust or debris from entering the device.
Are there any risks involved in opening an iPhone?
Opening an iPhone carries the risk of damaging the device, particularly if the proper tools and techniques are not used. Additionally, there is a risk of voiding the warranty if the device is opened without authorization.


