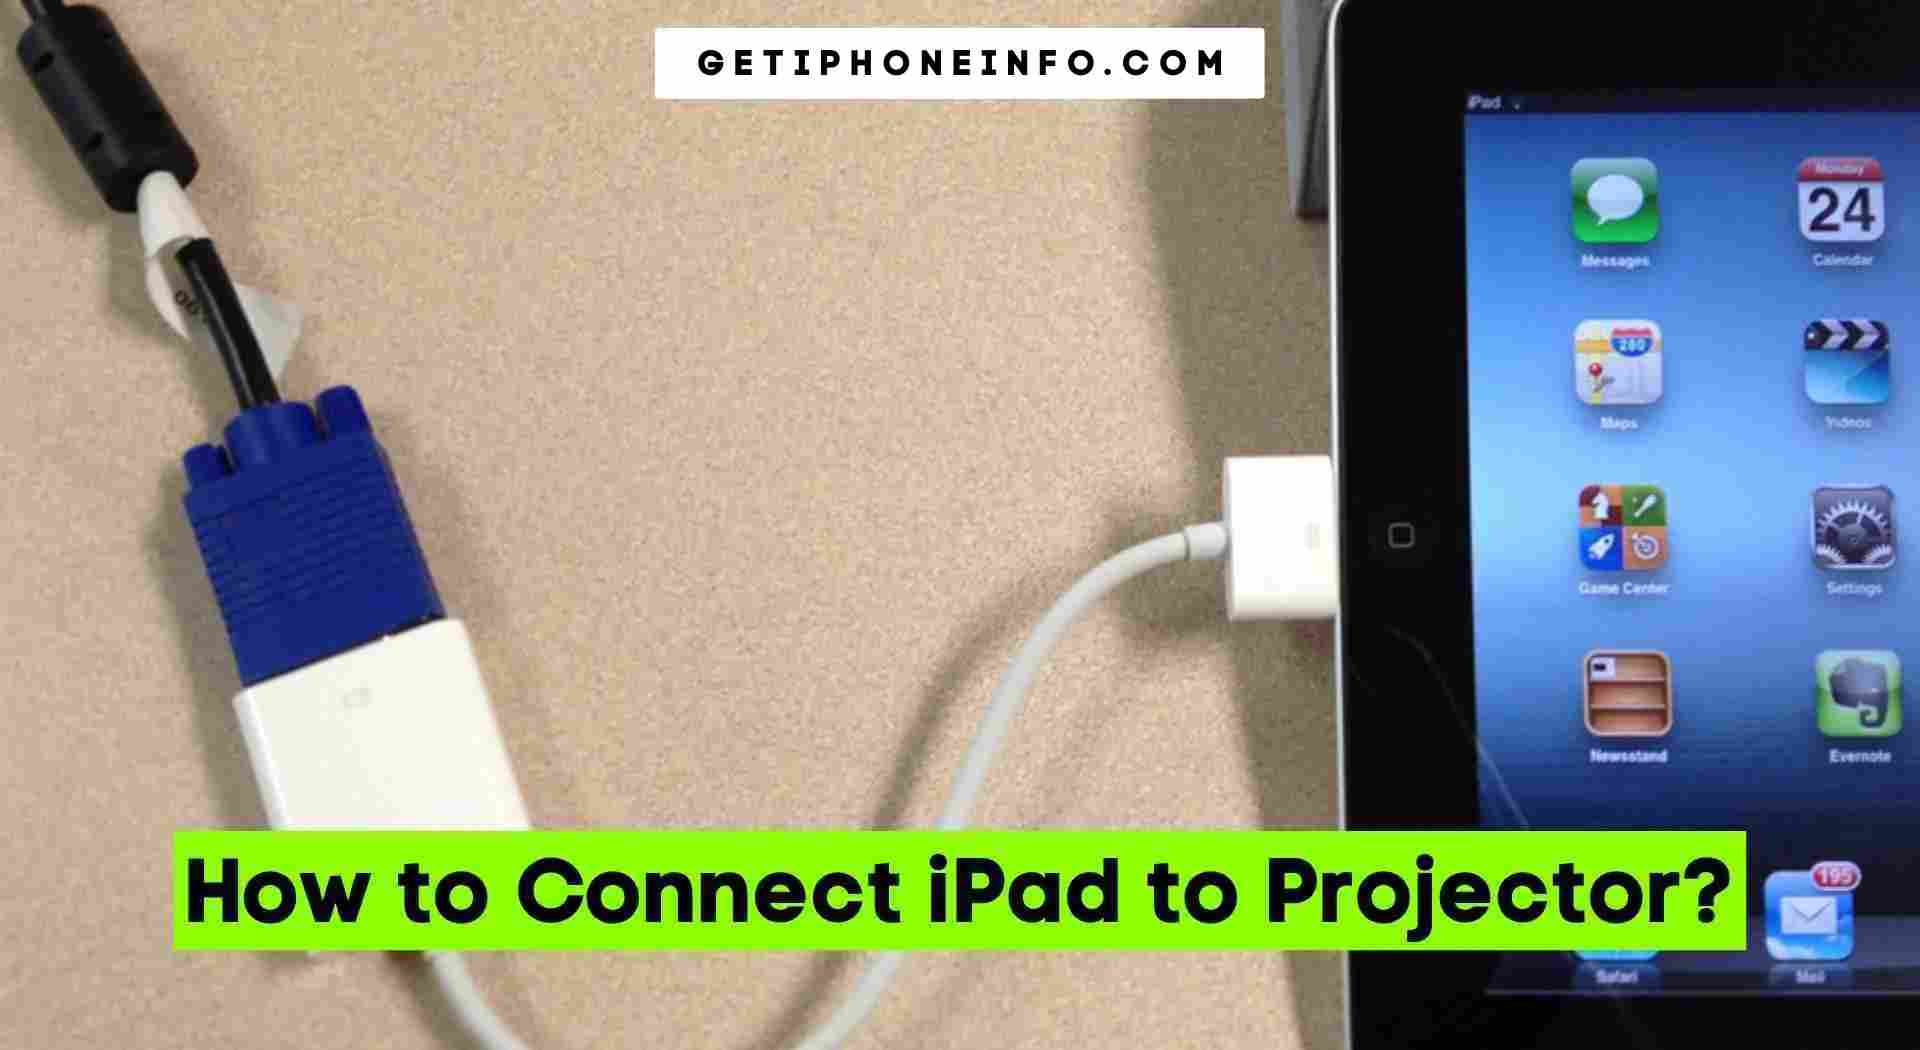
To connect an iPad to a projector, use an HDMI or VGA cable and connect it to the appropriate port on both devices. Then, adjust the projector settings accordingly.
Connecting an iPad to a projector is a simple process that allows you to display your content on a large screen. By using an HDMI or VGA cable, you can easily connect the two devices and adjust the projector settings to provide a clear and crisp display.
This enables you to showcase presentations, videos, and other content on a bigger scale, enhancing visibility and engagement for your audience. Whether for classroom use, business meetings, or home entertainment, connecting your iPad to a projector expands the possibilities of sharing and presenting your digital content in a more impactful way.
Choosing The Right Cable
Find the right cable to connect your iPad to a projector effortlessly. With quick and easy steps, you can enjoy a seamless display of your device on a bigger screen. Say goodbye to complicated setups and hello to hassle-free presentations.
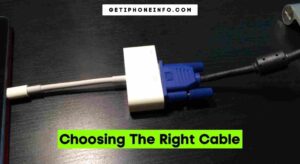
Connecting your iPad to a projector can open up a whole new world of possibilities, allowing you to share presentations, and videos, or even enjoy a movie on a larger screen. However, with different types of cables available, it can be confusing to know which one is the right choice for your iPad and projector setup.
In this section, we will explore the types of cables for connecting an iPad to a projector, their advantages and disadvantages, and how to determine the right cable for your specific needs.
Types Of Cables For Connecting iPad to A Projector:
- HDMI Cable:
- Provides high-quality video and audio transmission.
- Supports HD and Ultra HD resolutions.
- Requires an HDMI port on both the iPad and the projector.
- Offers a straightforward and reliable connection.
- VGA Cable:
- Offers compatibility with older projectors and monitors.
- Supports standard-definition resolutions.
- Requires a VGA port on the projector or an adapter for HDMI-to-VGA conversion.
- Transmits video only; a separate audio connection is needed.
- Lightning to HDMI/VGA Adapter:
- Enables connectivity between iPad and projectors with HDMI or VGA ports.
- Allows you to mirror the iPad screen or play content in presentation mode.
- Provides audio and video transmission with high-quality output.
- Requires separate HDMI or VGA cable, depending on the adapter chosen.
How To Determine The Right Cable For Your iPad and Projector:
- Check the available ports: Determine which ports your iPad and projector have, such as HDMI or VGA.
- Consider projector compatibility: If your projector is an older model without HDMI, consider opting for a VGA cable or a Lightning to VGA adapter.
- Determine video and audio requirements: If you need high-definition video and audio transmission, HDMI cables or Lightning to HDMI adapters are ideal.
- Evaluate budget and convenience: VGA cables are typically more affordable, while HDMI cables offer a more straightforward connection. Consider your budget and convenience preferences.
- Assess long-term use: If you anticipate using the cable for multiple devices or future upgrades, choosing a Lightning to HDMI/VGA adapter may provide greater versatility.
By considering the available ports, compatibility, video and audio requirements, budget, convenience, and long-term use, you can determine the right cable to connect your iPad to a projector. So, go ahead and enjoy a larger screen experience with ease and confidence.
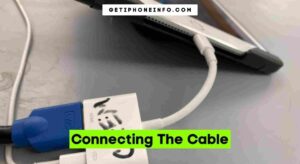
Connecting The Cable
To connect your iPad to a projector, simply use a cable to establish the connection effortlessly. By following this straightforward process, you can enjoy projecting your iPad’s content onto a larger screen for enhanced visibility and convenience.
Step-By-Step Instructions On Connecting The Cable To Your iPad:
- Begin by checking the ports on your iPad and projector. Most iPads have a Lightning port, while projectors typically come with an HDMI port. Make sure you have the correct cable that matches these ports.
- Start by turning off both your iPad and the projector. This will prevent any potential issues during the connection process.
- Take one end of the HDMI cable and insert it into the HDMI port on the projector. Ensure that it fits snugly and is securely plugged in.
- Connect the other end of the HDMI cable to the appropriate adapter for your iPad. For iPads with a Lightning port, use a Lightning to HDMI adapter. If you have a newer iPad with a USB-C port, use a USB-C to HDMI adapter. Make sure the adapter is securely attached to the cable.
- Once the cable is connected and secured on both ends, power on your projector first. Give it a few seconds to fully initialize and display the input options.
- Turn on your iPad and unlock it. You should see the iPad’s home screen on the projector display. If not, press the “Input” or “Source” button on your projector remote or control panel to select the correct HDMI input.
Troubleshooting Common Connectivity Problems:
- No signal on the projector: Check that the HDMI cable is plugged in securely on both ends and that the projector is set to the correct input source.
- Poor image quality: Make sure your HDMI cable supports the required resolution for your projector. Consider using a higher-quality or shorter cable for better image transmission.
- No audio on projector: Check if the audio output is set to HDMI on your iPad. Go to Settings > Sound & Haptics > Output, and select the HDMI option.
- Adapter compatibility issues: Ensure you are using a compatible adapter for your iPad model. Check the manufacturer’s website or consult the user manual for specific requirements.
- Resetting connections: If you encounter persistent connectivity issues, try disconnecting and reconnecting the HDMI cable or restarting both your iPad and projector.
By following these step-by-step instructions and implementing the provided tips, you will be able to easily connect your iPad to a projector without encountering any major connectivity issues. However, should you face any problems, refer to the troubleshooting section for effective solutions.
Enjoy seamless projection of your iPad’s content onto a larger screen for enhanced viewing experiences.
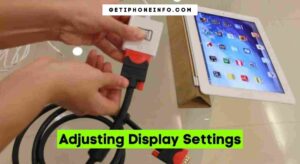
Adjusting Display Settings
Learn how to connect your iPad to a projector by adjusting display settings. Easily share your device’s screen and enjoy presentations or movies on the big screen.
Navigating To Display Settings On Your iPad
If you want to connect your iPad to a projector, adjusting the display settings is essential to ensure optimal projection and image quality. Thankfully, navigating to the display settings on your iPad is a straightforward process. Here’s how you can do it:
- Unlock your iPad and go to the home screen.
- Swipe up from the bottom of the screen to open the Control Center.
- In the Control Center, look for the “Screen Mirroring” or “AirPlay” button, usually represented by an icon resembling a rectangle with an upward-facing arrow.
- Tap on the “Screen Mirroring” or “AirPlay” button to proceed.
Configuring The Display Settings For Optimal Projection
Once you’ve accessed the display settings on your iPad, it’s time to configure them for the best projection experience. Here are some key settings you should consider adjusting:
- Aspect Ratio: Depending on your projector, you may need to match the aspect ratio of your iPad’s display with that of the projector. Common aspect ratios include 4:3 and 16:9. To change the aspect ratio on your iPad, navigate to the Display settings and select the appropriate ratio.
- Screen Rotation: Ensure that the screen rotation lock on your iPad is either turned off or set to allow rotation. This will allow the projected image to adapt to the correct orientation automatically.
- Brightness: Adjust the brightness level of your iPad’s display according to the lighting conditions in the projection area. A balance between too dim and too bright will help enhance the clarity and visibility of the projected content.
- Auto-Lock: To avoid interruptions during your presentation or while watching a video, consider disabling the auto-lock feature temporarily. This will prevent your iPad from going to sleep or locking the screen after a period of inactivity.
Calibration Tips To Ensure The Best Image Quality
To ensure the best image quality when connecting your iPad to a projector, calibration is crucial. Follow these tips to calibrate your iPad effectively:
- Focus Adjustment: Most projectors come with a focus ring or button to adjust the sharpness of the projected image. Use this feature to fine-tune the focus until the image appears clear and in focus.
- Keystone Correction: If the projected image appears distorted or skewed, your projector may have a keystone correction feature. Navigate to the projector’s settings to adjust the keystone correction and correct any trapezoidal distortion.
- Image Size and Position: Experiment with the projector’s zoom options and adjust the distance of the projector from the screen or wall to obtain the desired image size. Ensure that the image is perfectly aligned and centered on the projection surface.
By following these steps to adjust the display settings and calibrate your iPad, you’ll be able to connect it seamlessly to a projector and enjoy a crisp and vibrant projection.
Conclusion
Finally, test the connection and make any necessary adjustments to ensure a smooth and seamless experience. By knowing how to connect your iPad to a projector, you can take your presentations to the next level and share content with larger audiences.
So go ahead, grab your iPad and projector, and start connecting!
