
Transferring photos from an iPhone to a computer is a common task that many users encounter, whether for backup purposes, editing, or simply to free up space on their devices. The iPhone, with its advanced camera capabilities, has become a primary tool for capturing memories, and as a result, users often find themselves with a vast library of images. However, managing these photos can become cumbersome if they remain solely on the device.
Transferring them to a computer not only provides a more spacious environment for storage but also allows for easier organization and editing. The process of transferring photos can vary depending on the operating system of the computer—Windows or macOS—and the method chosen for the transfer, such as using a USB cable or wireless options like iCloud. Understanding the steps involved in this process is crucial for ensuring that your precious memories are safely moved and easily accessible.
This article will guide you through each step of transferring photos from your iPhone to your computer, ensuring that you can enjoy your images without the limitations of your device’s storage capacity.
Key Takeaways
- Introduction to iPhone Photos Transfer: Learn how to transfer photos from your iPhone to your computer.
- Step 1: Connect Your iPhone to Your Computer: Use a USB cable to connect your iPhone to your computer.
- Step 2: Unlock Your iPhone and Trust the Computer: Unlock your iPhone and trust the computer to access your photos.
- Step 3: Open the Photos App on Your Computer: Open the Photos app on your computer to start the transfer process.
- Step 4: Select the Photos You Want to Transfer: Choose the photos you want to transfer to your computer.
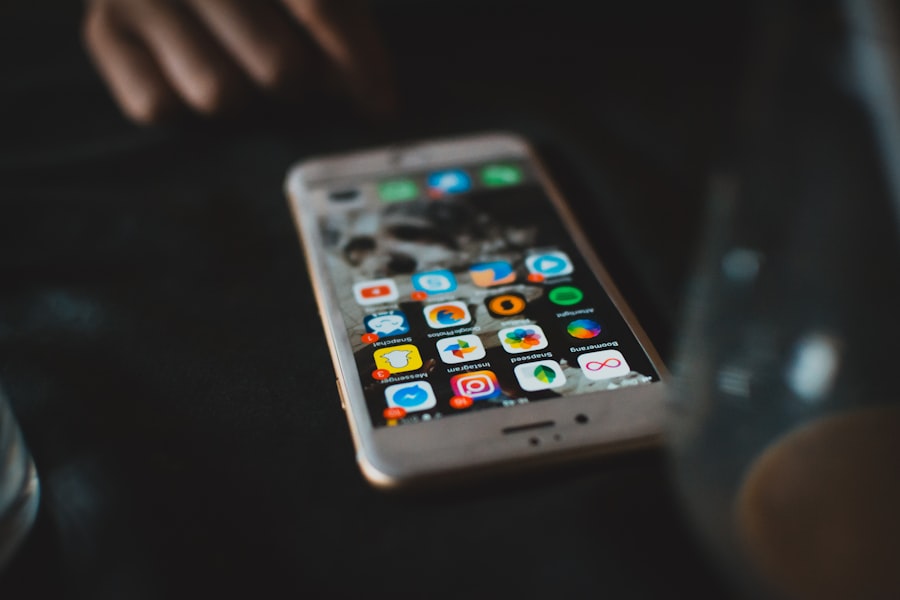
Step 1: Connect Your iPhone to Your Computer
The first step in transferring photos from your iPhone to your computer is to establish a physical connection between the two devices. This is typically done using a USB cable that is compatible with your iPhone. Most modern iPhones use a Lightning connector, while older models may utilize a 30-pin connector.
To begin, locate the appropriate cable and connect one end to your iPhone and the other end to an available USB port on your computer. Once connected, your computer should recognize the iPhone almost immediately. On Windows computers, you may see a notification indicating that a new device has been detected.
On macOS systems, the Finder will display your iPhone in the sidebar under “Locations.
” If you are using an older version of macOS, you may need to open the Image Capture application or the Photos app directly. Ensuring that the connection is secure is essential; if the cable is loose or damaged, it may lead to interruptions during the transfer process.Step 2: Unlock Your iPhone and Trust the Computer

After connecting your iPhone to your computer, the next step involves unlocking your device and establishing trust between the two devices. This is a security measure implemented by Apple to protect user data. When you unlock your iPhone, you may see a prompt asking if you want to trust this computer.
It is crucial to tap “Trust” to allow your computer access to your photos and other data stored on your device. If you do not see the trust prompt, ensure that your iPhone is unlocked and that you have entered your passcode or used Face ID/Touch ID. If you still encounter issues, try disconnecting and reconnecting the USB cable or restarting both devices.
Trusting the computer is a vital step in the process; without it, you will not be able to access your photos for transfer. Once this step is completed successfully, you can proceed with confidence knowing that your devices are communicating securely.
Step 3: Open the Photos App on Your Computer
| Metrics | Data |
|---|---|
| Number of Photos | 150 |
| Storage Used | 2.5 GB |
| Time Spent | 30 minutes |
With your iPhone connected and trusted, it’s time to open the appropriate application on your computer to facilitate the photo transfer. On Windows computers, this typically involves launching the Photos app, which is designed to manage images and videos efficiently. You can find it by searching for “Photos” in the Start menu or by locating it in your list of installed applications.
For macOS users, the Photos app is usually pre-installed and can be accessed from the Dock or Applications folder. Once opened, these applications will automatically detect your connected iPhone and display it as an import source. This integration simplifies the process of transferring photos, as both Windows and macOS have built-in functionalities that streamline image management.
Familiarizing yourself with these applications will enhance your overall experience when handling photo transfers.
Step 4: Select the Photos You Want to Transfer
After opening the Photos app on your computer, you will be presented with an interface that allows you to view all the images stored on your iPhone. This interface typically displays thumbnails of your photos, making it easy to browse through them visually. At this stage, you can select which photos you wish to transfer to your computer.
You may choose individual photos by clicking on them or select multiple images by holding down the Ctrl key (on Windows) or Command key (on macOS) while clicking on each desired photo. If you want to transfer all available images, many applications offer an option to select all at once, which can save time if you have a large number of photos. Take care during this selection process; double-checking ensures that only those images you want are marked for transfer, preventing any unwanted files from being moved.
Step 5: Choose a Destination Folder on Your Computer
Once you have selected the photos you wish to transfer, the next step involves choosing a destination folder on your computer where these images will be saved. This step is crucial for maintaining organization within your photo library. Most users prefer creating specific folders for different events or time periods, which makes it easier to locate images later on.
In the Photos app, there should be an option that allows you to specify where you want the selected images to be saved. You can either choose an existing folder or create a new one directly from this interface. For instance, if you’re transferring vacation photos, you might create a folder named “Vacation 2023” within your Pictures directory.
This organizational strategy not only helps in keeping your files tidy but also enhances accessibility when searching for specific images in the future.
Step 6: Start the Transfer Process
With everything set up—the photos selected and a destination folder chosen—you are now ready to initiate the transfer process. In both Windows and macOS environments, there will be an “Import” button or similar option within the Photos app interface that allows you to start transferring the selected images. Clicking this button will prompt the application to begin copying files from your iPhone to your designated folder on the computer.
During this stage, it’s important not to disconnect your iPhone or interrupt the process in any way. Depending on the number of photos being transferred and their file sizes, this process may take some time. The application will typically provide progress indicators so you can monitor how much of the transfer has been completed.
Patience is key here; ensuring that all files are fully transferred before disconnecting will help avoid any potential data loss.
Step 7: Wait for the Transfer to Complete
As the transfer progresses, it’s essential to remain attentive but relaxed; most modern applications are designed to handle these tasks efficiently without requiring constant supervision. The duration of this process can vary significantly based on several factors including the number of photos selected, their resolution, and overall file size. High-resolution images taken with newer iPhones can take longer due to their larger file sizes compared to standard images.
While waiting for completion, it’s advisable not to engage in other intensive tasks on your computer that could slow down performance or interfere with the transfer process. Once all selected photos have been successfully copied over, you will typically receive a notification indicating that the import has finished. At this point, it’s safe to disconnect your iPhone from the computer.
Step 8: Verify the Transfer Was Successful
After completing the transfer process, it’s prudent to verify that all intended photos have been successfully moved from your iPhone to your computer. Navigate to the destination folder where you saved the images and take a moment to browse through them. Check for completeness by ensuring that all selected files are present and accessible.
Opening a few images will also help confirm that they have transferred correctly without any corruption or loss of quality during the process. If any discrepancies arise—such as missing files or incomplete transfers—it may be necessary to repeat certain steps or troubleshoot potential issues with either device.
Troubleshooting: What to Do If You Encounter Problems
Despite following all steps carefully, users may occasionally encounter issues during photo transfers from their iPhones to computers. Common problems include failure of recognition by either device, incomplete transfers, or error messages indicating that files cannot be accessed. In such cases, there are several troubleshooting steps one can take.
First, ensure that both devices are updated with their latest software versions; outdated software can lead to compatibility issues. Restarting both devices can also resolve temporary glitches that may be causing problems with recognition or connectivity. If issues persist, consider using alternative methods for transferring photos such as cloud services like iCloud or third-party applications designed specifically for file transfers between devices.
Enjoy Your iPhone Photos on Your Computer
Transferring photos from an iPhone to a computer is a straightforward yet essential task for anyone looking to manage their digital memories effectively. By following these detailed steps—from connecting devices and trusting connections to selecting photos and verifying successful transfers—you can ensure that your cherished images are safely stored and easily accessible on your computer. With proper organization and management of these files, users can enjoy their photography experience without worrying about storage limitations on their mobile devices.
If you are looking to learn more about your iPhone and its features, you may want to check out the article on getiphoneinfo.com/terms-and-conditions/ for more details on the terms and conditions of using their services.
FAQs
What are the different methods to download pictures from iPhone to computer?
There are several methods to download pictures from iPhone to computer, including using a USB cable, iCloud, iTunes, AirDrop, or third-party apps.
How do I download pictures from iPhone to computer using a USB cable?
To download pictures from iPhone to computer using a USB cable, simply connect your iPhone to your computer using the USB cable, unlock your iPhone, and select “Trust” on the prompt that appears on your iPhone. Your iPhone will then appear as a device on your computer, allowing you to access and transfer your pictures.
Can I download pictures from iPhone to computer using iCloud?
Yes, you can download pictures from iPhone to computer using iCloud. Simply enable iCloud Photo Library on your iPhone and computer, and your pictures will automatically sync and be available on both devices.
Is it possible to download pictures from iPhone to computer using iTunes?
Yes, you can download pictures from iPhone to computer using iTunes. Simply connect your iPhone to your computer, open iTunes, select your device, and choose the “Photos” tab to sync your pictures to your computer.
How do I use AirDrop to download pictures from iPhone to computer?
To use AirDrop to download pictures from iPhone to computer, simply enable AirDrop on both your iPhone and computer, select the pictures you want to transfer on your iPhone, and choose your computer as the destination for the AirDrop transfer.
Are there any third-party apps that can help me download pictures from iPhone to computer?
Yes, there are several third-party apps available that can help you download pictures from iPhone to computer, such as Google Photos, Dropbox, or OneDrive. Simply install the app on both your iPhone and computer, and follow the app’s instructions to transfer your pictures.