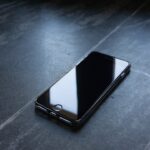
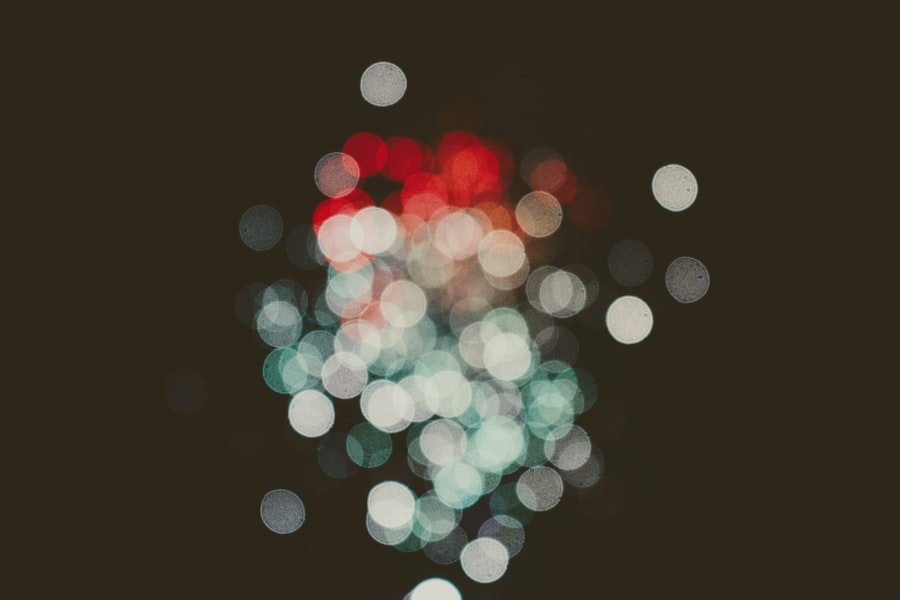
In the realm of mobile photography, the iPhone has established itself as a formidable tool, enabling users to capture stunning images with remarkable ease. One of the most sought-after effects in photography is the art of blurring, which can create a sense of depth, focus attention on the subject, and evoke emotion. Picture blurring, particularly when executed skillfully, can transform an ordinary snapshot into a visually striking composition.
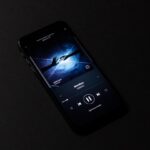
The iPhone’s advanced camera technology, combined with its user-friendly interface, allows both amateur and seasoned photographers to experiment with this technique effectively. Blurring can serve various purposes in photography. It can isolate a subject from its background, creating a more intimate portrayal, or it can add a dreamy quality to landscapes and portraits alike.
The iPhone’s capabilities in this regard are enhanced by features such as Portrait Mode and various editing tools that allow for precise control over focus and depth of field. Understanding how to manipulate these features can elevate your photography, making it not just a means of documentation but also a form of artistic expression.
Key Takeaways
- Blurring in iPhone photography can add a professional touch to your photos, making the subject stand out and creating a pleasing aesthetic.
- Understanding depth of field is crucial for achieving the desired level of blurriness in your iPhone photos, and it involves the distance between the nearest and farthest objects in focus.
- Portrait mode on iPhone is a powerful tool for creating a blurred background effect, and it automatically adjusts the depth of field to enhance the subject.
- Adjusting focus and exposure in the iPhone camera can help you control the blurriness and overall quality of your photos, allowing for more creative freedom.
- Third-party apps can provide additional features and customization options for blurring photos on iPhone, expanding your creative possibilities.
Understanding Depth of Field in Photography
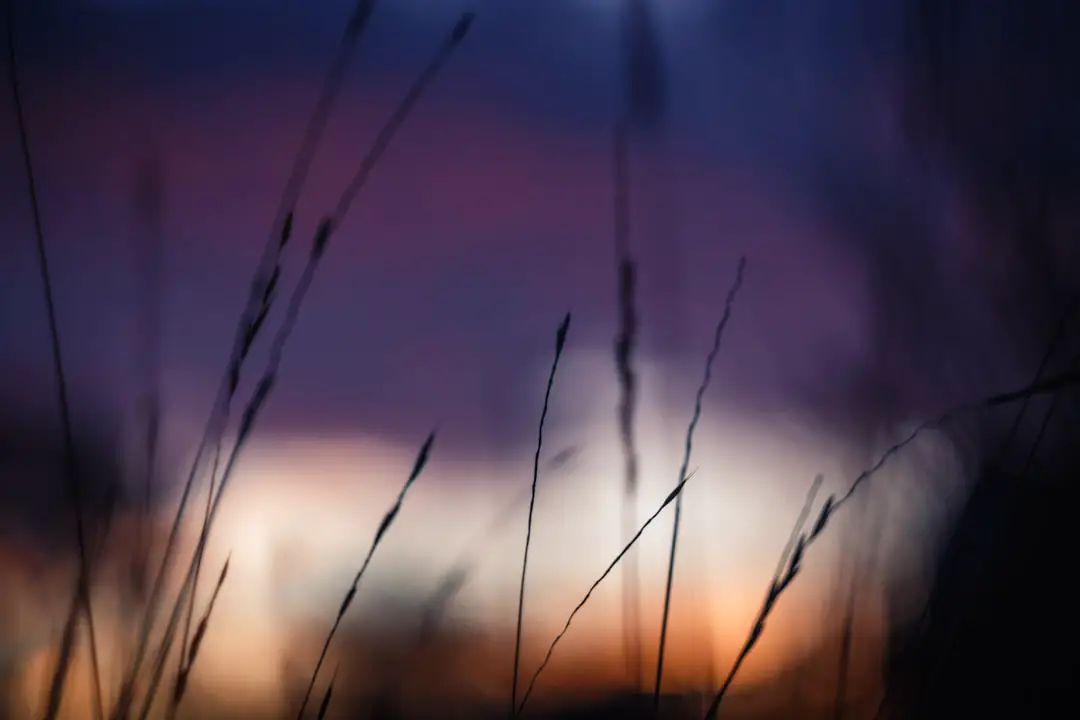
Depth of field (DoF) is a fundamental concept in photography that refers to the range of distance within a photo that appears acceptably sharp. A shallow depth of field results in a blurred background while keeping the subject in sharp focus, which is often desirable in portrait photography. This effect draws the viewer’s eye directly to the subject, minimizing distractions from the surrounding environment.
Conversely, a deep depth of field keeps more of the scene in focus, which is typically used in landscape photography to capture intricate details across the entire frame. The manipulation of depth of field is influenced by several factors, including aperture size, focal length, and distance from the subject. In traditional photography, a wide aperture (represented by a smaller f-number) allows more light to enter the lens while simultaneously creating a shallower depth of field.
This principle applies to iPhone photography as well, where the device’s computational photography capabilities simulate these effects digitally. Understanding how depth of field works is crucial for photographers looking to create images that convey specific moods or highlight particular elements within their compositions.
Using Portrait Mode on iPhone for Blurring
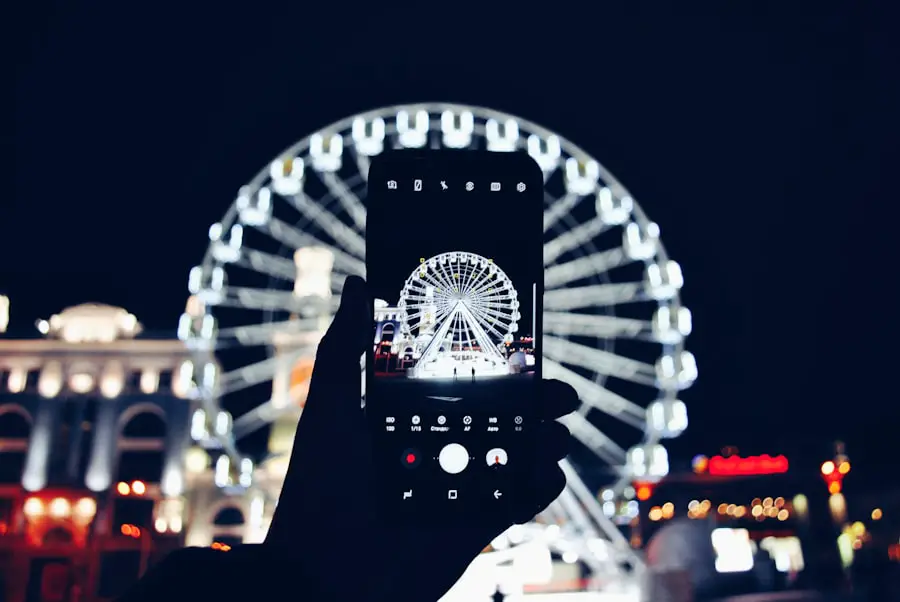
One of the standout features of recent iPhone models is Portrait Mode, which utilizes advanced algorithms and dual-camera systems to create a professional-looking bokeh effect. When activated, Portrait Mode automatically detects the subject and blurs the background, allowing for stunning portraits that mimic the quality of high-end DSLR cameras. This mode is particularly effective for capturing human subjects, pets, or objects where isolation from the background enhances the overall composition.
To use Portrait Mode effectively, it’s essential to position your subject at an appropriate distance from the background. Ideally, there should be several feet between your subject and any objects behind them to achieve a more pronounced blur. The iPhone will guide you with on-screen prompts to ensure optimal conditions for capturing your image.
Additionally, users can adjust the level of background blur after taking the photo by using the editing tools available in the Photos app, allowing for further customization and refinement of the final image.
Adjusting Focus and Exposure in iPhone Camera
| Focus and Exposure Adjustment | Metrics |
|---|---|
| Number of focus points | Multiple focus points for precise focusing |
| Exposure control | Adjustable exposure levels for different lighting conditions |
| Focus lock | Ability to lock focus on a specific subject |
| Exposure compensation | Option to adjust exposure compensation for better image quality |
Achieving the perfect shot often requires fine-tuning both focus and exposure settings on your iPhone camera. The default settings may not always yield the desired results, especially in challenging lighting conditions or when photographing subjects with intricate details. To manually adjust focus, simply tap on the area of the screen where you want to set your focus point.
This action will ensure that your subject is sharp while allowing you to control what remains blurred in the background. Exposure adjustments are equally important in creating visually appealing images. The iPhone camera allows users to modify exposure levels by sliding their finger up or down on the screen after tapping to focus.
This feature is particularly useful in high-contrast environments where bright highlights or deep shadows can obscure details. By mastering these adjustments, photographers can enhance their images significantly, ensuring that both focus and exposure work harmoniously to create stunning photographs.
Using Third-Party Apps for Picture Blurring
While the built-in camera features on the iPhone are robust, many photographers turn to third-party applications for additional creative control over their images. Apps like Snapseed, AfterFocus, and Blur Photo Editor offer advanced tools specifically designed for manipulating depth of field and achieving various blurring effects. These applications often provide more granular control over blurring techniques than what is available through standard iPhone settings.
For instance, Snapseed allows users to apply selective blurring effects with precision using its Lens Blur tool. This feature enables photographers to define specific areas of focus while blurring out others seamlessly. AfterFocus takes this concept further by allowing users to create custom focus areas and apply different types of blur effects that mimic real camera lenses.
By exploring these third-party options, photographers can expand their creative toolkit and produce images that stand out in an increasingly crowded visual landscape.
Tips for Achieving Professional-Looking Blurred Photos
To achieve professional-looking blurred photos with your iPhone, several practical tips can enhance your results significantly. First and foremost, consider lighting conditions; natural light often yields the best results for portrait photography. Shooting during golden hour—shortly after sunrise or before sunset—can provide soft, flattering light that enhances skin tones and adds warmth to your images.
Another essential tip is to pay attention to composition. Utilizing leading lines or framing techniques can draw attention to your subject while maintaining an aesthetically pleasing background blur. Experimenting with different angles and perspectives can also yield unique results; sometimes shooting from a lower angle or slightly off-center can create a more dynamic image.
Lastly, don’t hesitate to take multiple shots; digital photography allows for instant feedback, so take advantage of this by capturing several variations before settling on your favorite.
Editing Blurred Photos with iPhone’s Built-in Tools
Once you have captured your images, editing plays a crucial role in refining them further. The iPhone’s built-in Photos app offers a range of editing tools that can enhance blurred photos significantly. Users can adjust brightness, contrast, saturation, and sharpness to bring out details that may have been lost during shooting or blurring processes.
The app also includes filters that can add artistic flair or mood to your images. One particularly useful feature is the ability to adjust depth control after taking a photo in Portrait Mode. By selecting an image and tapping “Edit,” users can manipulate the level of background blur and even change the focus point if needed.
This flexibility allows for creative experimentation even after the photo has been taken, enabling photographers to achieve their desired look without needing extensive post-processing skills.
Sharing and Showcasing Your Blurred Photos on Social Media
In today’s digital age, sharing your photography on social media platforms has become an integral part of the creative process. Platforms like Instagram, Facebook, and Pinterest provide excellent avenues for showcasing your blurred photos to a broader audience. When sharing images online, consider using relevant hashtags that relate to photography and blurring techniques; this practice can help increase visibility and engagement with your work.
Additionally, engaging with other photographers and communities online can provide valuable feedback and inspiration. Participating in photography challenges or joining groups dedicated to mobile photography can foster connections with like-minded individuals who share your passion for capturing beautiful images. By actively sharing your work and interacting with others in the community, you not only showcase your skills but also contribute to a vibrant culture of creativity and collaboration within mobile photography circles.
If you are looking for more tips and tricks on how to enhance your iPhone photography skills, you may want to check out this article on Get iPhone Info. They offer a variety of tutorials and guides on how to make the most out of your iPhone camera, including how to blur a picture without using an app. Additionally, you can reach out to them for more information or assistance by visiting their contact page. Make sure to also review their terms and conditions for using their website.
FAQs
What is the purpose of blurring a picture on iPhone?
Blurring a picture on iPhone can help to protect the privacy of individuals in the photo, create a more aesthetically pleasing image, or emphasize a specific subject within the photo.
Can I blur a picture on iPhone without using a third-party app?
Yes, it is possible to blur a picture on iPhone without using a third-party app by using the built-in editing tools in the Photos app.
How can I blur a picture on iPhone using the Photos app?
To blur a picture on iPhone using the Photos app, open the photo you want to edit, tap “Edit” in the top right corner, then select the “Adjust” option. From there, you can use the “Blur” tool to adjust the intensity of the blur.
Are there different levels of blurring that can be applied to a picture on iPhone?
Yes, the Photos app on iPhone allows users to adjust the intensity of the blur effect, providing different levels of blurring to suit their preferences.
Can I selectively blur specific areas of a picture on iPhone?
Yes, the Photos app on iPhone allows users to selectively blur specific areas of a picture by using the “Selective” tool, which enables them to manually apply the blur effect to specific parts of the photo.