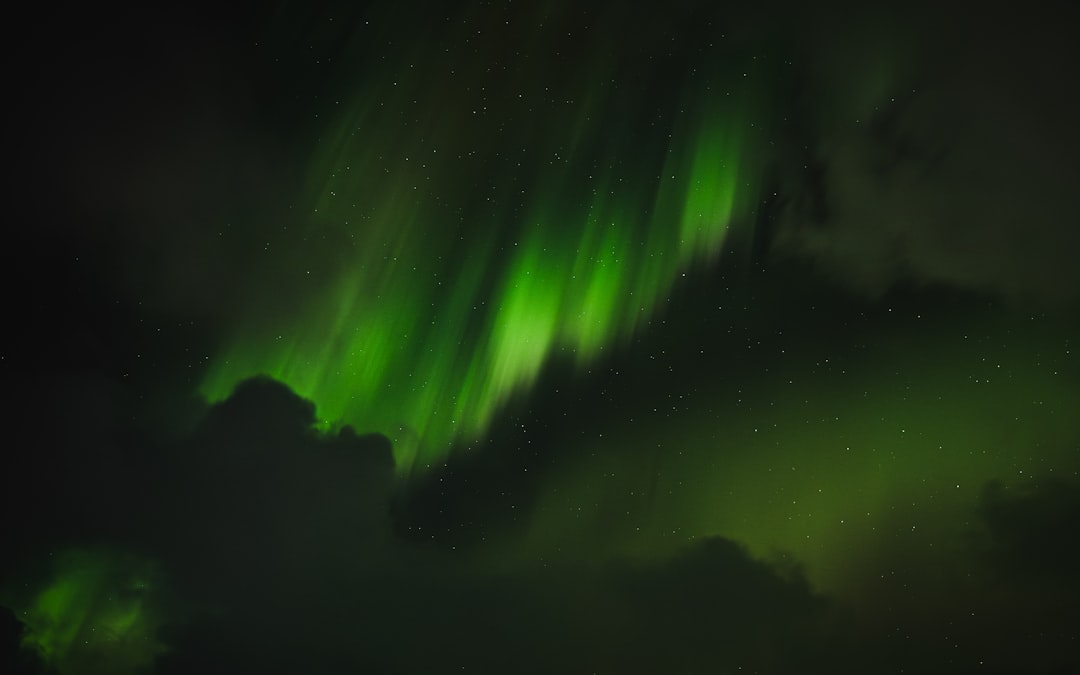
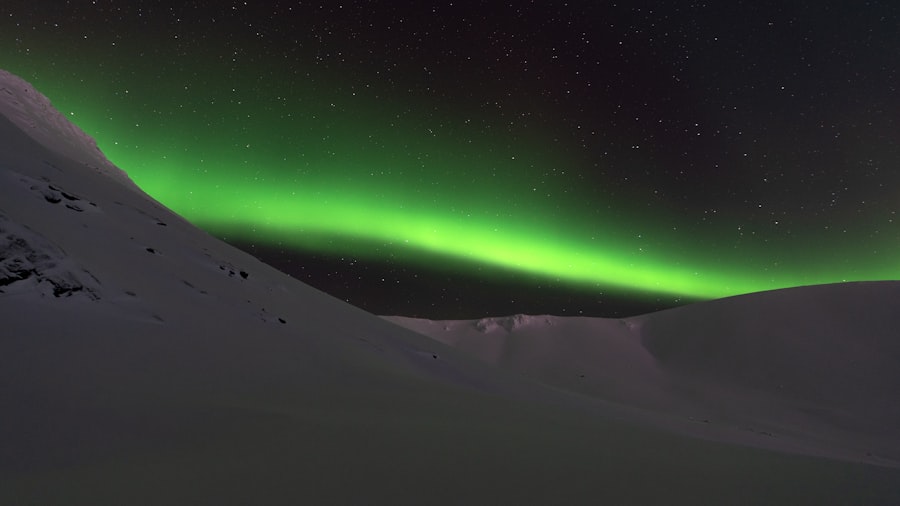
The Northern Lights, or Aurora Borealis, are one of nature’s most mesmerizing phenomena, captivating observers with their ethereal beauty. This natural light display occurs primarily in high-latitude regions around the Arctic and Antarctic, resulting from the interaction between charged particles from the sun and the Earth’s magnetic field. When solar winds carry these particles toward Earth, they collide with gases in the atmosphere, such as oxygen and nitrogen.
This collision releases energy in the form of light, creating the stunning colors that dance across the night sky. The hues can range from greens and pinks to reds and purples, depending on the type of gas involved and the altitude at which the interactions occur. The best time to witness this celestial spectacle is during the winter months when nights are longest and skies are darkest.
Locations within the auroral oval—an area around the magnetic poles—are prime spots for viewing. Countries like Norway, Sweden, Finland, Canada, and Alaska are renowned for their breathtaking displays. However, understanding the science behind the Northern Lights can enhance your appreciation of this natural wonder.
The auroras are not just beautiful; they are a reminder of the dynamic relationship between our planet and the cosmos. Observing them can evoke a sense of connection to the universe, making the experience even more profound.
Key Takeaways
- The Northern Lights are a natural phenomenon caused by charged particles from the sun interacting with the Earth’s atmosphere.
- The best locations to view the Northern Lights are typically in high-latitude regions such as Alaska, Canada, Iceland, and Scandinavia.
- When setting up your iPhone camera to capture the Northern Lights, use a tripod to keep the camera steady and reduce blurriness.
- Adjust the exposure and ISO settings on your iPhone camera to capture the vibrant colors and movement of the Northern Lights.
- Using a tripod for stability is crucial when capturing the Northern Lights to avoid shaky or blurry photos.
- To capture the movement of the Northern Lights, use a slow shutter speed and experiment with different angles and compositions.
- After capturing your Northern Lights photos, use editing tools on your iPhone to enhance the colors and contrast for a more vibrant image.
- Share your stunning Northern Lights iPhone photos on social media to inspire others and showcase the beauty of this natural wonder.
Finding the Best Location
Choosing the right location is crucial for capturing stunning photographs of the Northern Lights. Ideal spots are characterized by minimal light pollution, clear skies, and a direct view of the northern horizon. National parks and remote areas away from urban centers often provide the best vantage points.
For instance, places like Fairbanks in Alaska or Tromsø in Norway are popular among aurora chasers due to their accessibility and favorable viewing conditions. These locations not only offer dark skies but also have local resources such as guided tours that can enhance your experience. In addition to geographical considerations, timing plays a significant role in your quest to see the Northern Lights.
The auroras are most active during periods of high solar activity, which can be tracked through various online resources and apps dedicated to aurora forecasts. Websites like NOAA’s Space Weather Prediction Center provide real-time data on solar wind conditions and auroral activity levels. Planning your trip around these forecasts can significantly increase your chances of witnessing this breathtaking phenomenon.
Furthermore, local weather conditions should be monitored closely; clear skies are essential for optimal visibility.
Setting Up Your iPhone Camera
When it comes to capturing the Northern Lights with an iPhone, understanding how to set up your camera is essential for achieving stunning results. Modern iPhones come equipped with advanced camera technology that can produce impressive images even in low-light conditions. To begin with, ensure that your iPhone is updated to the latest operating system to take advantage of any camera enhancements.
Open the Camera app and switch to Night mode if your device supports it; this feature automatically adjusts settings for low-light photography. In addition to activating Night mode, consider using third-party camera apps that offer more manual control over settings. Apps like Halide or ProCam allow you to adjust shutter speed, ISO, and focus manually, providing greater flexibility than the default camera app.
When photographing the Northern Lights, it’s crucial to set your camera to capture long exposures; this allows more light to enter the lens, resulting in brighter and more detailed images of the auroras. Experimenting with different settings will help you find the optimal configuration for your specific environment.
Adjusting Exposure and ISO Settings
| Exposure and ISO Settings | Definition | Importance |
|---|---|---|
| Exposure | The amount of light that reaches the camera sensor | Crucial for achieving the desired brightness and contrast in a photo |
| ISO | The sensitivity of the camera sensor to light | Allows for adjustments in low-light conditions without compromising image quality |
| Exposure Compensation | Adjusting the exposure settings to make the image brighter or darker | Helps in capturing the correct amount of light for a well-exposed photo |
Exposure and ISO settings are critical components in capturing high-quality images of the Northern Lights with your iPhone. Exposure refers to how long your camera’s sensor is exposed to light; longer exposures can capture more detail in low-light situations. For Northern Lights photography, a good starting point is an exposure time of around 10-20 seconds.
However, this may vary depending on how bright the auroras are on any given night. If you notice that your images are too bright or washed out, reducing the exposure time can help achieve a more balanced photograph. ISO sensitivity determines how sensitive your camera’s sensor is to light.
A higher ISO setting allows you to capture images in darker conditions but can introduce noise or graininess into your photos. For Northern Lights photography, an ISO setting between 800 and 1600 is often ideal; this range strikes a balance between sensitivity and image quality. It’s advisable to take test shots at different ISO levels to see how they affect your images.
Remember that while higher ISO settings can brighten your photos, they may also compromise clarity, so finding that sweet spot is essential for capturing the beauty of the auroras.
Using a Tripod for Stability
Stability is paramount when photographing the Northern Lights, especially given the long exposure times required to capture their beauty effectively. A tripod is an indispensable tool for ensuring that your iPhone remains steady during these extended exposures. Even slight movements can result in blurry images, detracting from the overall quality of your photographs.
Investing in a sturdy tripod designed for smartphones can make a significant difference in your results. If you don’t have a tripod on hand, there are alternative methods to stabilize your iPhone. You can place it on a flat surface or use natural elements like rocks or logs to prop it up securely.
Additionally, using a remote shutter release or the timer function on your camera app can help minimize any movement caused by pressing the shutter button manually. By ensuring that your iPhone remains stable throughout the exposure process, you’ll be able to capture sharp and detailed images of the Northern Lights.
Capturing the Movement of the Lights
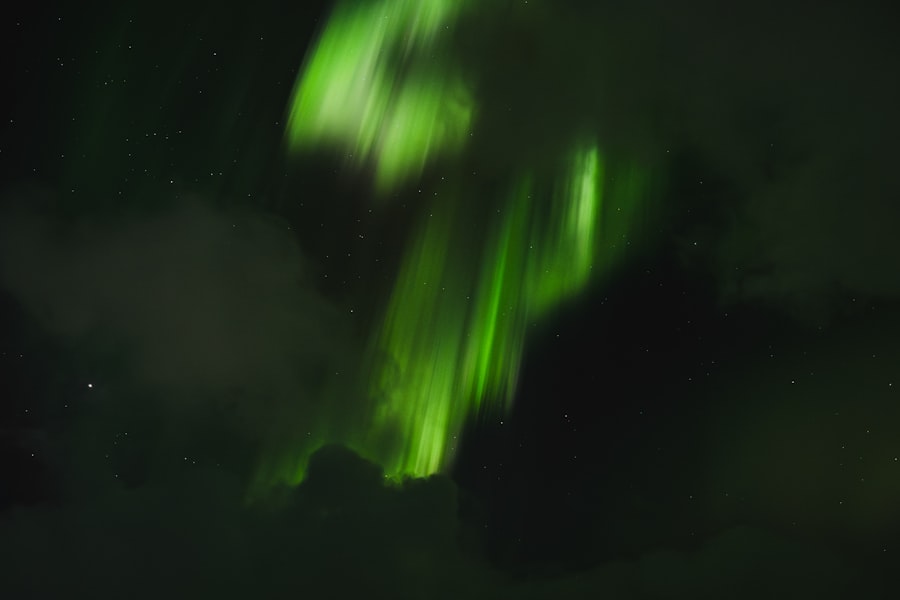
One of the most captivating aspects of the Northern Lights is their dynamic movement across the sky. Capturing this movement in your photographs can add depth and drama to your images. To achieve this effect, consider using longer exposure times that allow you to record the shifting patterns of light as they dance across the horizon.
A shutter speed of 15-30 seconds can effectively capture this motion while still maintaining clarity. In addition to adjusting exposure times, experimenting with different angles and compositions can enhance your photographs further. Incorporating foreground elements such as trees, mountains, or water reflections can create a more engaging image that tells a story about your experience under the auroras.
For instance, positioning yourself near a lake can allow you to capture stunning reflections of the lights on the water’s surface, adding an extra layer of beauty to your shots. The interplay between movement and composition will elevate your photography and create memorable images that encapsulate the magic of witnessing the Northern Lights.
Editing and Enhancing Your Photos
Once you’ve captured stunning images of the Northern Lights, editing plays a crucial role in bringing out their full potential. Post-processing allows you to enhance colors, adjust brightness and contrast, and fine-tune details that may not have been fully captured in-camera. Popular editing apps like Adobe Lightroom Mobile or Snapseed offer powerful tools for refining your photographs directly on your iPhone.
When editing Northern Lights photos, focus on enhancing colors without over-saturating them; you want to maintain a natural look while making those vibrant hues pop. Adjusting contrast can help define shapes and patterns within the auroras, while fine-tuning exposure ensures that details are visible without losing depth in darker areas of the image. Additionally, cropping can help improve composition by removing distractions from the frame or emphasizing specific elements within your photograph.
Sharing Your Northern Lights iPhone Photos
After investing time and effort into capturing and editing your Northern Lights photographs, sharing them with others can be incredibly rewarding. Social media platforms like Instagram or Facebook provide excellent avenues for showcasing your work and connecting with fellow photography enthusiasts or travelers who share similar interests. When sharing your photos online, consider using relevant hashtags such as #NorthernLights or #AuroraBorealis to reach a broader audience interested in this natural phenomenon.
In addition to social media, consider creating a dedicated photo album or blog post documenting your experience with the Northern Lights. This not only allows you to share your images but also provides an opportunity to narrate your journey—where you went, what you learned about capturing auroras, and any tips you might have for others looking to embark on a similar adventure. Engaging storytelling combined with stunning visuals can inspire others to explore this breathtaking phenomenon themselves while fostering a sense of community among those who appreciate nature’s wonders.
If you’re looking to capture stunning photos of the aurora borealis with your iPhone, you may want to check out this helpful article on getiphoneinfo.com. This website offers a wealth of information on how to optimize your iPhone camera settings for capturing the beauty of the northern lights. With their expert tips and tricks, you’ll be able to take breathtaking photos of the aurora borealis like a pro.
FAQs
What is the aurora borealis?
The aurora borealis, also known as the northern lights, is a natural light display in the Earth’s sky, predominantly seen in high-latitude regions around the Arctic Circle.
Can I take pictures of the aurora borealis with an iPhone?
Yes, it is possible to capture the aurora borealis with an iPhone, especially with newer models that have improved camera capabilities.
What settings should I use on my iPhone to capture the aurora borealis?
To capture the aurora borealis with an iPhone, it is recommended to use a slow shutter speed, adjust the ISO to a higher setting, and use a tripod to keep the phone steady during the long exposure.
Where is the best location to take pictures of the aurora borealis with an iPhone?
The best locations to capture the aurora borealis with an iPhone are in areas with minimal light pollution and clear, dark skies, such as remote areas in northern regions.
What time of year is best for photographing the aurora borealis with an iPhone?
The best time of year to photograph the aurora borealis with an iPhone is during the winter months when the nights are longer and the skies are darker in high-latitude regions.
Are there any specific apps or accessories that can help with capturing the aurora borealis on an iPhone?
There are several photography apps available for iPhones that can assist with capturing the aurora borealis, as well as accessories such as external lenses and remote shutter releases.
