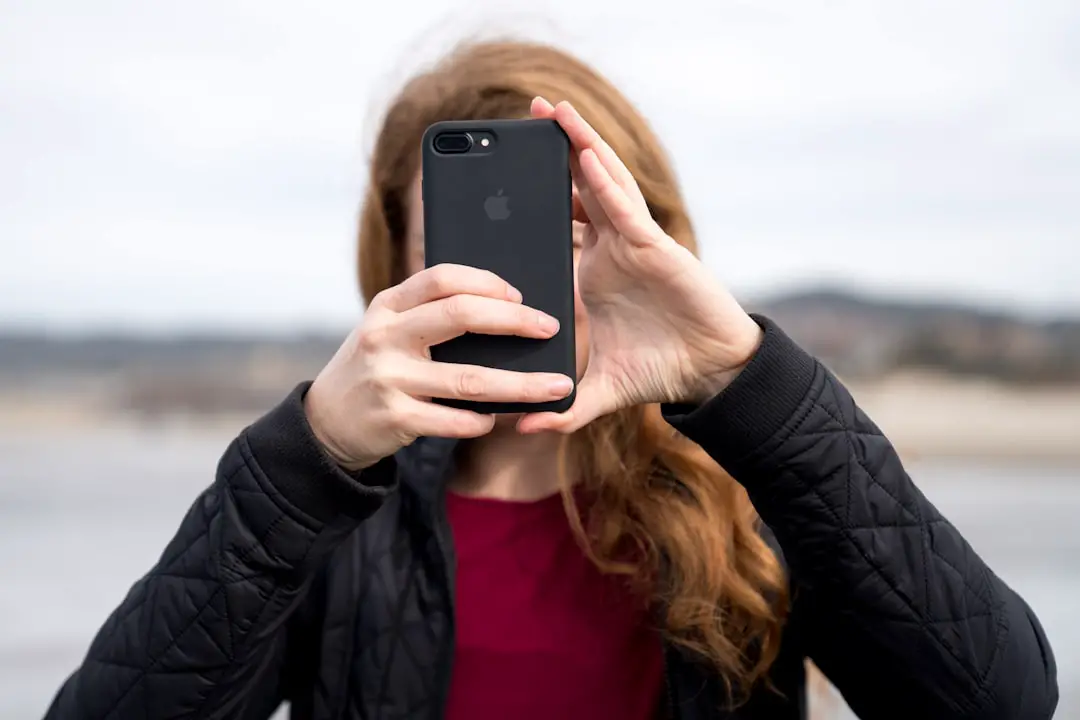
The iPhone has revolutionized the way we capture and share video content, making it accessible to everyone from casual users to professional filmmakers. At its core, the iPhone video recording capability is built on a sophisticated combination of hardware and software that allows for high-quality video capture. The latest models boast advanced camera systems with multiple lenses, enabling users to shoot in various formats, including 4K resolution at 60 frames per second.
This level of quality was once reserved for expensive cameras, but now it fits comfortably in your pocket. Understanding the basics of iPhone video also involves familiarizing oneself with the various shooting modes available. The standard video mode is complemented by features such as slow motion, time-lapse, and cinematic mode, which adds a depth-of-field effect to create a more professional look.
Each mode serves a different purpose and can dramatically alter the final output of your video. For instance, slow-motion captures fast action in exquisite detail, while time-lapse condenses hours of footage into a few captivating seconds. By grasping these foundational elements, users can begin to explore the creative possibilities that their iPhones offer.
Key Takeaways
- Understanding the basics of iPhone video is essential for capturing high-quality footage.
- Utilize the camera features such as focus, exposure, and white balance for better video results.
- Choose the right settings for different scenarios, such as adjusting frame rate and resolution for various shooting conditions.
- Use external accessories like stabilizers and microphones to enhance the quality of your iPhone video.
- Master the art of composition and framing to create visually appealing and engaging video content.
Utilizing the Camera Features for Better Video
Lens Versatility
One of the standout capabilities is the ability to switch between different lenses seamlessly. For example, the ultra-wide lens can capture expansive landscapes or large groups, while the telephoto lens is perfect for close-ups or distant subjects.
Stabilization Technology
Understanding when to use each lens can significantly enhance the storytelling aspect of your videos. Another critical feature is the stabilization technology integrated into newer iPhone models. Optical image stabilization (OIS) helps reduce blurriness caused by shaky hands or movement during filming.
Advanced Settings
Additionally, digital stabilization algorithms further smooth out footage, making it appear more professional. Users should take advantage of these features by holding their devices steady and using both hands when recording. Furthermore, experimenting with the focus and exposure settings can lead to more dynamic shots; tapping on the screen allows you to lock focus on a subject while adjusting exposure levels for optimal brightness.
Choosing the Right Settings for Different Scenarios
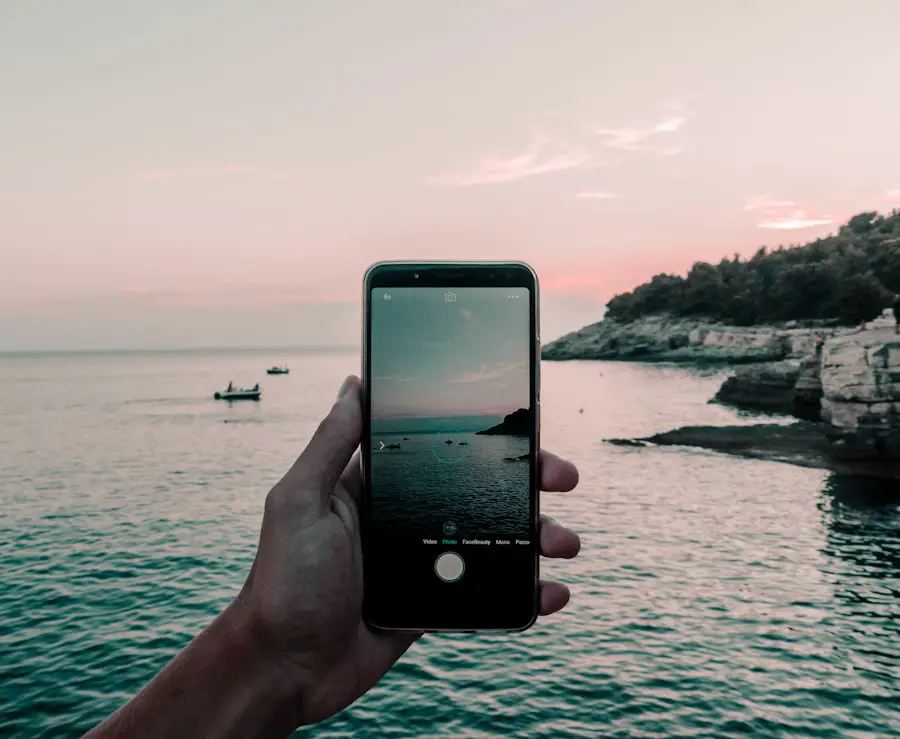
Selecting the appropriate settings for various filming scenarios is crucial for achieving the desired video quality. For instance, when shooting in bright sunlight, it may be beneficial to adjust the exposure manually to prevent overexposure and loss of detail in highlights. Conversely, in low-light situations, enabling features like Night mode can help capture clearer images without excessive noise.
Understanding how to navigate these settings can make a significant difference in the final product. Moreover, users should consider frame rates based on the type of content they are creating. A higher frame rate, such as 60 fps, is ideal for capturing fast-moving action, while 24 fps is often preferred for a more cinematic feel.
The choice of resolution also plays a vital role; shooting in 4K provides greater detail and flexibility during editing but requires more storage space. By tailoring these settings to specific environments and subjects, videographers can ensure that their footage meets their creative vision.
Using External Accessories to Enhance Video Quality
| Accessory | Function | Impact on Video Quality |
|---|---|---|
| External Microphone | Improves audio capture | Enhances sound clarity and reduces background noise |
| Stabilizer/Gimbal | Reduces camera shake | Produces smoother and more professional-looking footage |
| External Lens | Expands field of view or adds specific effects | Enhances image quality and allows for creative visual effects |
| External Light | Provides additional lighting | Improves visibility and reduces graininess in low-light conditions |
While the iPhone’s built-in camera capabilities are impressive, external accessories can elevate video quality even further. One of the most popular accessories is a tripod or stabilizer, which helps eliminate shaky footage and allows for smoother panning shots. A gimbal stabilizer, in particular, can provide professional-level stabilization, making it easier to capture dynamic movements without compromising quality.
Additionally, external microphones can significantly improve audio quality, which is often overlooked in video production. The built-in microphone on an iPhone may not capture sound as clearly as desired, especially in noisy environments. Investing in a shotgun microphone or a lavalier mic can enhance audio clarity and ensure that dialogue or important sounds are captured accurately.
Lighting equipment is another valuable addition; portable LED lights can help illuminate subjects in low-light conditions or create dramatic effects that enhance storytelling.
Mastering the Art of Composition and Framing
Composition and framing are fundamental aspects of videography that can dramatically influence how a story is perceived by viewers. The rule of thirds is a classic guideline that suggests dividing the frame into nine equal parts using two horizontal and two vertical lines. Placing key elements along these lines or at their intersections can create a more balanced and engaging composition.
This technique encourages viewers’ eyes to move naturally across the frame, enhancing their overall experience. Beyond basic composition rules, experimenting with angles and perspectives can add depth and interest to your videos. For instance, shooting from a low angle can make subjects appear more powerful or significant, while high angles can create a sense of vulnerability or insignificance.
Additionally, incorporating leading lines—such as roads or pathways—can guide viewers’ attention toward focal points within the frame. By mastering these compositional techniques, videographers can create visually compelling narratives that resonate with their audience.
Utilizing Natural Lighting for Stunning Video
Natural lighting is one of the most effective tools available to videographers, yet it requires careful consideration and planning. The golden hour—shortly after sunrise or before sunset—provides soft, warm light that enhances skin tones and creates a magical atmosphere for outdoor shoots. Filming during this time can result in stunning visuals that are difficult to replicate with artificial lighting.
However, natural light can be unpredictable and varies throughout the day. Understanding how to work with different lighting conditions is essential for achieving optimal results. For example, overcast days provide diffused light that reduces harsh shadows and highlights, making them ideal for interviews or close-up shots.
Conversely, shooting in direct sunlight may require using reflectors or diffusers to soften harsh light and minimize glare. By harnessing natural lighting effectively, videographers can elevate their work without relying heavily on artificial sources.
Capturing Clear Audio for Your Video
While visual quality is paramount in video production, audio clarity is equally important and often overlooked by novice videographers. Poor audio quality can detract from even the most visually stunning footage, making it essential to prioritize sound capture during filming. As mentioned earlier, using external microphones can significantly enhance audio fidelity; however, understanding how to position these microphones is equally crucial.
For instance, when recording dialogue, placing a lavalier mic close to the speaker’s mouth ensures clear sound capture while minimizing background noise. In contrast, shotgun microphones should be directed toward the sound source to effectively isolate audio from surrounding distractions. Additionally, being mindful of environmental sounds—such as wind or traffic—can help avoid unwanted noise during recording sessions.
Taking these steps will lead to a more polished final product that engages viewers on multiple sensory levels.
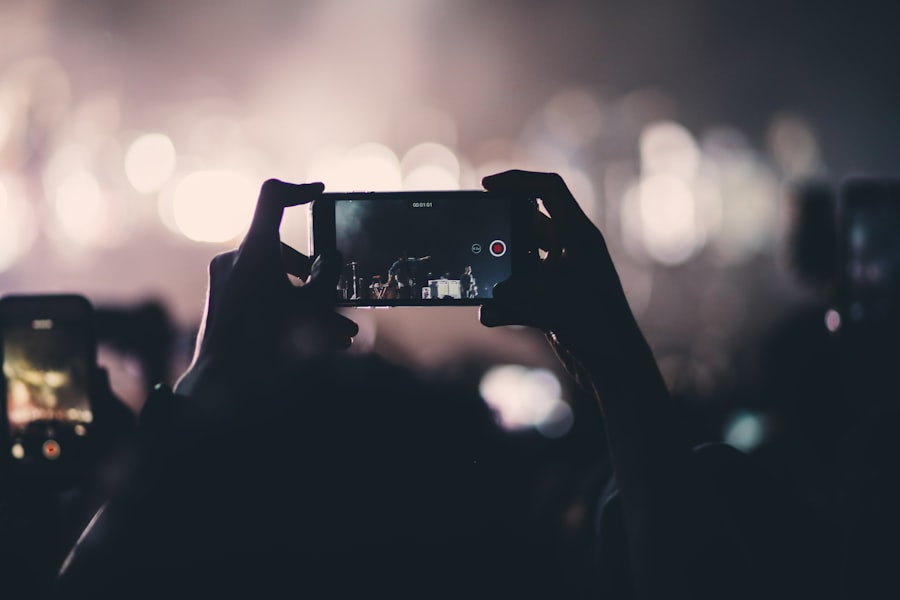
Tips for Stabilizing Your iPhone Video
Stabilization is vital for producing smooth and professional-looking videos. While modern iPhones come equipped with advanced stabilization features, there are additional techniques that users can employ to further reduce shake during filming. One effective method is to adopt a stable stance; keeping your feet shoulder-width apart and using your body as a stabilizing force can help minimize movement.
Another technique involves using your arms as shock absorbers by tucking them close to your body while holding the phone with both hands. This position creates a more stable platform for recording compared to holding the device at arm’s length. Additionally, utilizing slow movements when panning or tilting the camera can prevent abrupt shifts that may lead to shaky footage.
By incorporating these stabilization techniques into your filming routine, you can achieve smoother results that enhance the overall quality of your videos.
Editing and Enhancing Your Video Footage
Once you have captured your video footage, the editing process becomes crucial in shaping your final product. iPhones come equipped with powerful editing tools within apps like iMovie and Clips that allow users to trim clips, add transitions, and incorporate music or sound effects seamlessly. Familiarizing yourself with these tools can significantly enhance your editing efficiency and creativity.
Moreover, color grading is an essential aspect of post-production that can dramatically alter the mood and tone of your video. Adjusting brightness, contrast, saturation, and color balance can help achieve a cohesive look throughout your footage. Many editing apps offer filters or presets that simplify this process while still allowing for customization based on your creative vision.
By investing time in editing and enhancing your footage thoughtfully, you can transform raw clips into polished narratives that captivate your audience.
Sharing and Uploading Your Video
After completing your video project, sharing it with others becomes an exciting next step in the creative process. Social media platforms like Instagram, TikTok, and YouTube provide excellent avenues for showcasing your work to a broader audience. However, each platform has its own specifications regarding video format and length; understanding these requirements ensures that your content appears as intended.
When uploading videos online, consider optimizing them for searchability by using relevant keywords in titles and descriptions. Engaging thumbnails also play a crucial role in attracting viewers’ attention; creating eye-catching visuals can entice potential viewers to click on your content amidst a sea of options. Additionally, engaging with your audience through comments or direct messages fosters community interaction and encourages further sharing of your work.
Troubleshooting Common iPhone Video Issues
Despite its advanced technology, users may encounter common issues when recording videos on their iPhones. One frequent problem is insufficient storage space; running out of memory mid-shoot can be frustrating and lead to missed opportunities. Regularly managing storage by deleting unnecessary files or transferring footage to cloud services can help mitigate this issue.
Another common challenge involves focusing issues; sometimes the camera may struggle to lock onto moving subjects or may inadvertently focus on background elements instead of the intended subject. To address this problem, users should tap on the screen where they want to set focus before recording begins. Additionally, ensuring that any protective cases do not obstruct camera lenses is essential for maintaining optimal performance during filming sessions.
By understanding these common issues and implementing effective solutions, users can enhance their overall experience while capturing high-quality videos on their iPhones.
If you’re looking to learn more about how to take videos on your iPhone, you may want to check out the article on Get iPhone Info. This website offers a wealth of information on all things iPhone-related, including tips and tricks for capturing the best videos on your device. Additionally, you can reach out to them directly for any specific questions or concerns by visiting their privacy policy to ensure your information is protected while browsing their site.
FAQs
What are the basic steps to take a video on iPhone?
To take a video on iPhone, simply open the Camera app, switch to video mode, and press the record button to start capturing the video.
How can I switch to video mode on iPhone camera?
To switch to video mode on iPhone camera, open the Camera app and swipe to the right on the screen until you see the “Video” option.
What are some tips for taking better videos on iPhone?
Some tips for taking better videos on iPhone include holding the phone steady, using natural lighting, and experimenting with different angles and perspectives.
Can I zoom in while taking a video on iPhone?
Yes, you can zoom in while taking a video on iPhone by using the pinch-to-zoom gesture on the screen.
How do I stop recording a video on iPhone?
To stop recording a video on iPhone, simply press the record button again to end the recording.