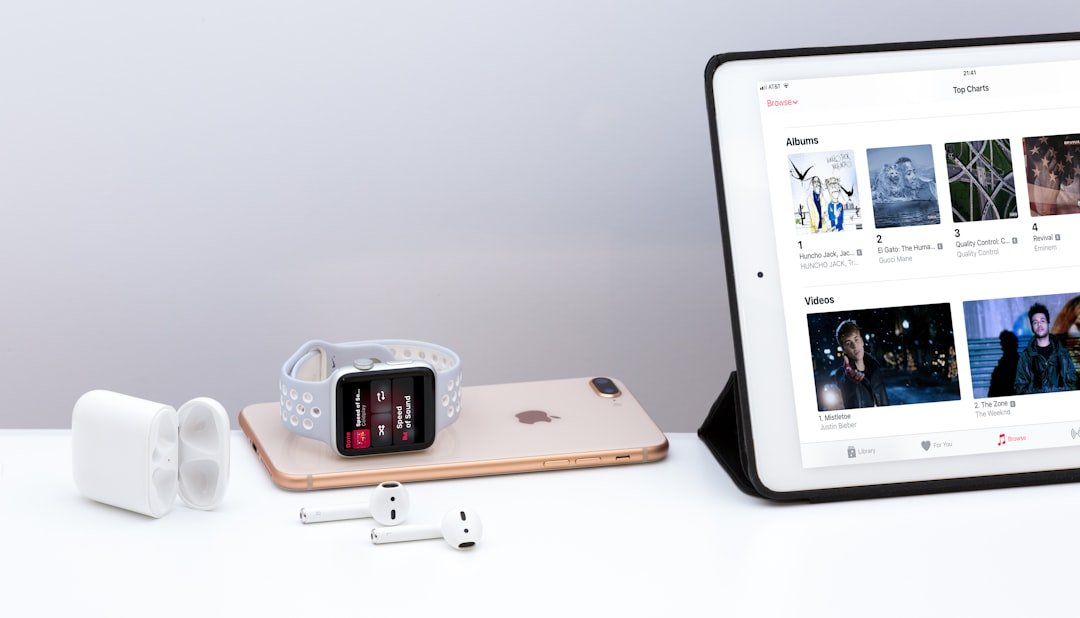
Transferring music from an iPod to an iPhone may seem like a straightforward task, but it is fraught with limitations that can complicate the process. One of the primary challenges stems from the differences in how these devices manage and store music. The iPod, particularly older models, often relies on a local library managed through iTunes, while the iPhone integrates more seamlessly with cloud services and streaming platforms.
This fundamental difference can create barriers when attempting to transfer music directly between the two devices. For instance, if the music on the iPod was not purchased through iTunes or is not available in the Apple Music library, it may not be easily transferable to the iPhone. Moreover, Apple has implemented various restrictions to protect copyright and intellectual property rights, which can further complicate the transfer process.
Songs that were synced to an iPod from a different computer or that are not part of the user’s current Apple ID may not be eligible for transfer. Additionally, users may encounter issues related to file formats; while most music files are compatible with both devices, certain formats may not be supported on the iPhone. Understanding these limitations is crucial for users who wish to successfully migrate their music collections without losing access to their favorite tracks.
Key Takeaways
- Transferring music from iPod to iPhone using iTunes may result in loss of non-purchased music
- Third-party software can provide a more flexible and comprehensive solution for transferring music from iPod to iPhone
- iCloud can be used to transfer music from iPod to iPhone, but it requires a stable internet connection and sufficient storage space
- AirDrop offers a convenient and quick way to transfer music from iPod to iPhone, but it is limited to nearby devices
- Transferring music from iPod to iPhone using a computer provides more control and flexibility in managing the transfer process
- Organize transferred music on iPhone by creating playlists and using music management apps
- Common issues when transferring music from iPod to iPhone include compatibility, file format, and connectivity problems
- Troubleshoot by ensuring devices are updated, using compatible software, and checking for sufficient storage space
Using iTunes to transfer music from iPod to iPhone
One of the most traditional methods for transferring music from an iPod to an iPhone is through iTunes. This software has long been a cornerstone of Apple’s ecosystem, providing users with a centralized platform for managing their media libraries. To initiate the transfer process using iTunes, users must first connect their iPod to a computer via USOnce connected, they can open iTunes and select their device from the list of available devices.
From there, users can navigate to their music library and select the songs or playlists they wish to transfer. After selecting the desired music, users can then sync their iPhone with iTunes. This process involves ensuring that the iPhone is also connected to the same computer and that it is recognized by iTunes.
Users should be aware that syncing will overwrite any existing music on the iPhone unless they have set it up to allow for manual management of music files. This method is particularly effective for users who have a well-organized library in iTunes, as it allows for a straightforward transfer of songs while maintaining playlists and metadata. However, it is essential to back up any important data before proceeding with this method, as syncing can sometimes lead to unintended data loss.
Using third-party software to transfer music from iPod to iPhone

For those who find iTunes cumbersome or restrictive, third-party software solutions offer an alternative means of transferring music from an iPod to an iPhone. Numerous applications are available that specialize in media transfer, providing users with more flexibility and control over their music libraries. Programs such as AnyTrans, CopyTrans, and Dr.Fone are popular choices among users looking for a more user-friendly experience.
These applications often come equipped with features that allow for selective transfers, meaning users can choose specific songs or albums rather than syncing entire libraries. Using third-party software typically involves downloading and installing the application on a computer, connecting both the iPod and iPhone via USB, and following the software’s prompts to initiate the transfer process. Many of these programs also support a wide range of file formats, making it easier to transfer music that may not be compatible with iTunes.
Additionally, some third-party solutions offer cloud integration features, allowing users to back up their music libraries online or transfer files directly between devices without needing a computer. While these applications can simplify the transfer process significantly, users should exercise caution and ensure they are using reputable software to avoid potential security risks.
Transferring music from iPod to iPhone using iCloud
| Transfer Method | Pros | Cons |
|---|---|---|
| iCloud | Wireless transfer, no need for computer | Requires internet connection, limited free storage |
| iTunes | Can transfer all types of media, no internet required | Requires computer, need to connect devices with cable |
| Third-party apps | Some offer additional features like file management | May require payment, potential security risks |
iCloud provides another avenue for transferring music from an iPod to an iPhone, particularly for users who have embraced Apple’s cloud ecosystem. By utilizing iCloud Music Library, users can sync their music across all devices linked to their Apple ID. To begin this process, users must first ensure that both their iPod and iPhone are signed into the same Apple ID and that iCloud Music Library is enabled on both devices.
This feature allows users to upload their music collections to the cloud, making them accessible from any device. Once enabled, users can upload their music from the iPod to iCloud by navigating to the settings menu and selecting “Music.” After uploading, they can then access their entire library on their iPhone by simply opening the Music app. This method is particularly advantageous for those who have large collections or who frequently update their libraries, as it eliminates the need for physical transfers and allows for seamless access to music anywhere with an internet connection.
However, users should be mindful of their storage limits on iCloud; while Apple offers a certain amount of free storage, larger libraries may require a paid subscription for additional space.
Transferring music from iPod to iPhone using AirDrop
AirDrop presents a modern and efficient way to transfer music directly from an iPod to an iPhone without needing a computer or additional software. This feature utilizes Bluetooth and Wi-Fi technology to create a peer-to-peer connection between Apple devices, allowing for quick file transfers. To use AirDrop for transferring music, both devices must be within proximity and have AirDrop enabled in their settings.
Users can access AirDrop settings by swiping down from the top right corner of their screens (on newer models) or swiping up (on older models) to reveal the Control Center. Once AirDrop is activated on both devices, users can navigate to their music library on the iPod and select the songs they wish to share. By tapping on the share icon and selecting the recipient’s device from the AirDrop menu, users can initiate the transfer process.
The receiving device will prompt the user to accept or decline the incoming files. This method is particularly useful for sharing individual tracks or small playlists quickly without needing a full sync or backup process. However, it is important to note that AirDrop may not support certain file formats or DRM-protected content, which could limit its effectiveness for some users.
Transferring music from iPod to iPhone using a computer

Transferring music from an iPod to an iPhone using a computer can be accomplished through various methods beyond just using iTunes or third-party software. For instance, users can manually copy music files from their iPod’s storage if they have access to file management tools that allow them to view hidden files on their devices. This method typically requires some technical knowledge and may involve navigating through system files that are not readily accessible through standard user interfaces.
Another approach involves using file management applications that facilitate direct access to device storage. Programs like Winamp or MediaMonkey can recognize connected devices and allow users to drag and drop files between them. This method provides more granular control over what gets transferred and can be particularly useful for users who want to maintain specific playlists or album arrangements without relying on automatic syncing processes.
However, this approach may also come with its own set of challenges regarding compatibility and file format recognition.
Tips for organizing and managing transferred music on iPhone
Once music has been successfully transferred from an iPod to an iPhone, effective organization becomes essential for enhancing user experience. The Music app on the iPhone offers various features that allow users to categorize and manage their libraries efficiently. Creating playlists is one of the most effective ways to organize music; users can group songs by genre, mood, or occasion, making it easier to find specific tracks when needed.
Additionally, utilizing features like “Recently Added” or “Top 100” playlists can help keep frequently played songs easily accessible. Another useful tip involves leveraging metadata tagging within music files. Ensuring that song titles, artist names, album names, and cover art are correctly tagged can significantly improve navigation within the Music app.
Users can edit this information directly in iTunes before transferring their music or use third-party applications designed for batch editing metadata tags. Furthermore, taking advantage of features like “Genius” playlists or “For You” recommendations based on listening habits can enhance overall enjoyment by introducing users to new tracks that align with their musical preferences.
Troubleshooting common issues when transferring music from iPod to iPhone
Despite careful planning and execution, users may encounter various issues when attempting to transfer music from an iPod to an iPhone. One common problem is related to device recognition; sometimes, computers fail to recognize connected devices due to outdated drivers or software incompatibilities. In such cases, ensuring that both the operating system and any relevant applications (like iTunes) are updated can often resolve these issues.
Another frequent challenge involves DRM protection on certain songs that prevent them from being transferred between devices. Users may find that some tracks purchased from the iTunes Store are locked due to licensing agreements. In these instances, exploring options such as converting files into DRM-free formats or purchasing songs again through Apple Music may be necessary solutions.
Additionally, if users experience incomplete transfers or missing songs after syncing or using third-party software, checking settings related to syncing preferences or re-evaluating selected files during transfer can help identify any discrepancies that need addressing. By understanding these various methods and potential pitfalls associated with transferring music from an iPod to an iPhone, users can navigate this process more effectively and enjoy their favorite tunes across devices seamlessly.
If you are looking to transfer music from your iPod to your iPhone, you may also be interested in learning how to retrieve photos from a broken iPhone. This helpful guide provides step-by-step instructions on how to recover your precious photos from a damaged device. Additionally, if you are in need of a new case for your iPhone 12, you can check out this list of the best cases available on the market.


